Turn Your CSA Members Into Your Farm’s Best Marketing Team
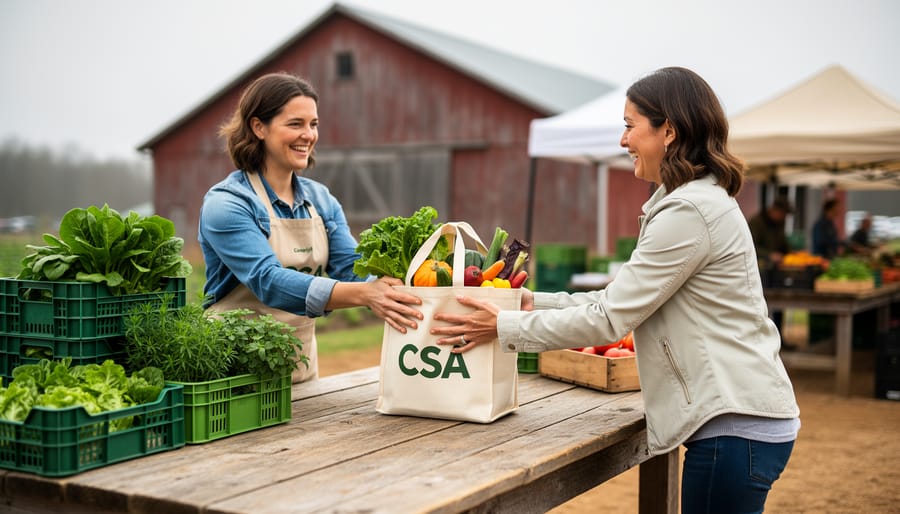
Growing a CSA membership base through your existing members works because people trust recommendations from friends and neighbors far more than any advertisement you could buy. The most successful CSA farms in 2026 are turning satisfied members into active ambassadors through structured referral programs that offer tangible rewards, clear expectations, and simple sharing tools.
The beauty of member-driven growth is its authenticity. When a CSA member raves about their weekly harvest box to a coworker, they’re sharing a genuine experience, not a sales pitch. That personal endorsement carries weight no social media campaign can match. But here’s the reality: most members won’t naturally think to recruit others unless you give them a reason and a framework to do so.
Small-scale farms often shy away from formal referral programs, assuming they require complex tracking systems or expensive incentives. The truth is simpler. A well-designed program can be as straightforward as offering a free week of produce for every new member someone brings in, paired with shareable referral cards members can hand out at farmers markets or neighborhood gatherings.
The farms that grow their membership year after year aren’t necessarily the ones with the fanciest websites or biggest advertising budgets. They’re the ones who’ve figured out how to activate their existing community, turning happy customers into enthusiastic advocates. What follows are the exact frameworks, real farmer examples, and practical implementation steps you need to build a referral and ambassador program that fits your farm’s scale and style.
Why CSA Members Make Your Most Credible Advocates
When a CSA member tells their neighbor about your farm, something powerful happens that no Facebook ad or farmers market banner can replicate. The conversation carries weight because it comes from someone who has skin in the game, someone who’s actually opened your boxes, cooked your vegetables, and experienced your farming practices firsthand.
Research shows that word of mouth outperforms traditional marketing channels significantly, particularly for products where quality and trust matter. CSA memberships check both boxes. Unlike a one-time purchase at a market, joining a CSA requires commitment and trust. Prospective members aren’t just buying tomatoes, they’re investing in a season-long relationship with a farm they’ve likely never visited.
This is where your current members become invaluable. They’ve weathered the learning curve of storing greens properly, figuring out what to do with kohlrabi, and adjusting their meal planning around what’s in season. When they recommend your farm, they’re not just vouching for your produce quality. They’re saying “I trust these farmers with my food budget” and “this is worth the commitment.”
The community aspect amplifies this effect. CSA members often view their participation as something bigger than a transaction, it’s supporting local agriculture, eating seasonally, and connecting to where their food comes from. When they invite friends to join, they’re extending an invitation into a community and a values-aligned choice, not just selling vegetables.
This authentic enthusiasm can’t be manufactured through marketing copy, no matter how well-written. It emerges naturally from positive experiences, and smart farms create systems to channel that enthusiasm into growth.
Building a CSA Member Referral Program That Actually Works
Choosing the Right Incentives for Your Farm
The incentive you offer can make or break your referral program. Too stingy, and members won’t bother. Too generous, and you’ll undercut your margins. The sweet spot depends on your farm’s size, profit margins, and what genuinely excites your members.
Start by thinking about what costs you least while delivering real value to members. A $20 share credit might feel generous to a member, but if your margins are tight, that same value delivered as extra produce from a bumper harvest week costs you far less. Similarly, value-added products you make on-farm (jams, pickles, bouquets) often work as high-perceived-value incentives with relatively low production costs.
| Incentive Type | Member Appeal | Farm Cost | Best Fit |
|---|---|---|---|
| $15-25 share credit | High flexibility | Direct revenue loss | Established farms with healthy margins |
| Free add-ons (eggs, flowers, preserves) | Tangible immediate reward | Low if farm-produced | Diversified farms with multiple products |
| Extra weekly produce | More of what they love | Variable by season | Farms with reliable surpluses |
| 10-15% renewal discount | Long-term savings | Deferred, predictable | Farms prioritizing retention |
Consider offering tiered rewards. One successful referral might earn a jar of your farm’s tomato sauce, while three referrals unlocks a half-share credit. This approach encourages ongoing advocacy without requiring you to give away your most valuable incentives for a single sign-up.
Match your incentive to your operation’s rhythm. If you’re a veggie-only farm, partnering with a neighboring farm for eggs or honey as referral rewards creates appeal without stretching your production. Startup farms with tighter budgets often find success with experiential rewards like invitations to exclusive farm dinners or u-pick events, which build community while keeping hard costs low.
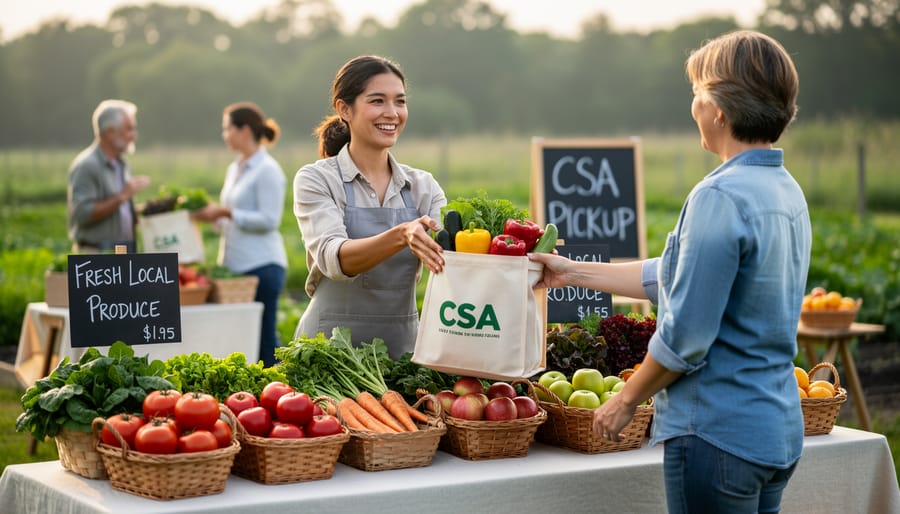
Making Referrals Easy and Trackable
The easier you make the referral process, the more members will actually use it. A complicated system helps nobody, so design your mechanics around simplicity first.
Digital referral codes work well if you have a basic online signup form. Give each member a unique code, their last name plus a number works fine, that new members enter when joining. Track these in a simple spreadsheet with columns for referring member, new member name, signup date, and reward status. No fancy software needed.
For farms without digital infrastructure, physical referral cards are incredibly effective. Print simple business-card-sized cards with your farm info and a line for the referring member’s name. Members hand these to friends, who bring them to pickup or mail them with their signup. File the cards in a folder and record them weekly.
A dedicated referral signup link makes sharing even easier. Services like Google Forms or Typeform let you create a free form where new signups can enter who referred them. Share one link with all members rather than individual codes, just add a “Who referred you?” field.
Track everything in one place, whether that’s a notebook, spreadsheet, or your member database. Note the referring member, new member, date, and when you issued the reward. Review it monthly to catch any referrals you might have missed and to send thank-you notes.
The key is choosing a method you’ll actually maintain. A simple system you use consistently beats a sophisticated one you abandon after two months.
Setting Clear Program Guidelines
A referral program falls apart when members feel confused about how it works or, worse, when they think they’ve earned something they haven’t. Setting clear guidelines upfront prevents frustration and keeps the program running smoothly season after season.
Spell out exactly when rewards kick in. Most farms trigger incentives when the new member completes their first payment, not just when they sign up. This protects you from rewarding referrals that never convert while giving referring members a clear milestone to track.
Set reasonable limits per member. Some farms cap referrals at three to five per season to keep the program sustainable, while others leave it unlimited but adjust the reward value after the first few. Whatever you choose, state it clearly so members know what to expect.
Decide when you’ll deliver rewards. Options include applying credits immediately to the next share pickup, adding them to the following season’s account, or distributing them at mid-season or year-end. Just be consistent and communicate the timing in advance.
Include your program terms everywhere members might look: in your welcome packet, on referral cards, in email confirmations, and on any sign-up page. Cover the basics in simple language, what members get, when they get it, how tracking works, and any expiration dates. When everyone understands the rules, your program becomes a trust-builder instead of a headache.
Creating a CSA Ambassador Program
Identifying Your Ideal Ambassadors
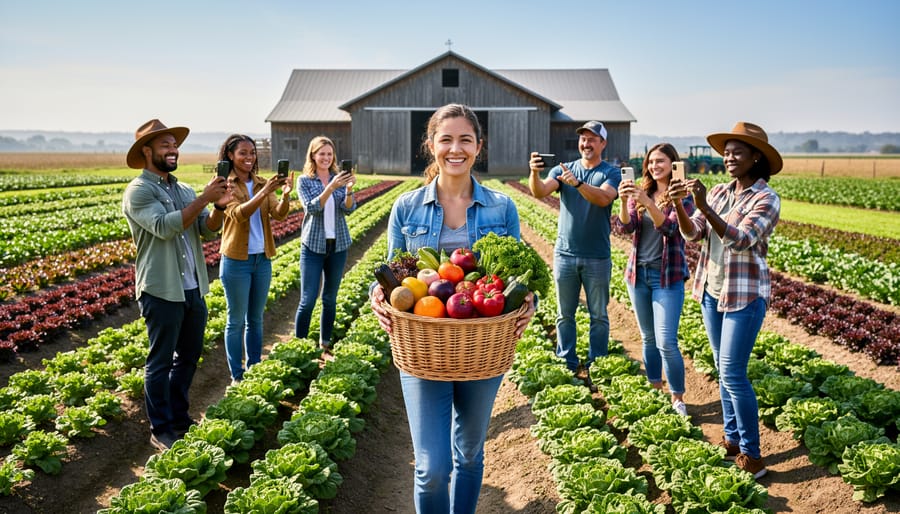
The best ambassadors are already promoting your farm, you just need to recognize them. Look for members who consistently engage: they comment on your social media posts, bring friends to farm events, ask thoughtful questions at pickup, and share photos of your produce. These are the people who genuinely love what you’re doing.
Key qualities include natural enthusiasm (they light up talking about the farm), strong local networks (they’re involved in community groups, schools, or workplaces), and reliability (they show up to events and communicate well). Members who’ve been with you for at least one full season understand your farm’s rhythm and values, making them more credible advocates.
Pay attention during pickup days. Who’s chatting with other members about recipes? Who’s already telling newcomers how the share works? Watch your social media tags, members who regularly post about their weekly haul are showing you exactly who they are.
When inviting someone to be an ambassador, make it personal. A quick conversation at pickup works well: “I’ve noticed how much you enjoy sharing about the farm with others. We’re looking for a few members to help spread the word more formally. Would you be interested in learning more?” Follow up with a simple email outlining what’s involved.
Keep your initial ambassador group small, three to five members. You can always expand once you’ve refined the program.
Ambassador Roles and Responsibilities
Successful ambassador programs work when expectations are clear and manageable. Most farm ambassadors can realistically commit to two or three activities per season, not a constant stream of promotion.
Start with the lowest-effort options. Social media sharing, posting farm photos, tagging the CSA in stories, or writing brief reviews, takes minutes but reaches personal networks organically. Bringing friends to pickup days or open farm events leverages occasions already on their calendar. These activities require enthusiasm, not extra time.
Mid-level involvement includes hosting small farm tours for their social circles. An ambassador might invite neighbors over for a farm visit, introducing four or five potential members in a relaxed setting. Some members enjoy staffing your table at farmers markets for an hour, answering questions from shoppers who trust peer recommendations over farm marketing.
The highest commitment comes from content creation, writing blog posts about favorite recipes, filming cooking videos with your produce, or maintaining a farm share diary. Offer this option but never require it. These ambassadors are rare gems who genuinely love creating content.
Make participation flexible. Provide a menu of options and let ambassadors choose what fits their lifestyle. A busy parent might only share on Instagram, while a retired teacher could lead monthly farm tours. Track contributions loosely, you’re building relationships, not managing employees. The goal is sustained, authentic advocacy that feels rewarding rather than obligatory.
Supporting and Rewarding Your Ambassadors
Your ambassadors invest time and energy promoting your farm, so thoughtful recognition keeps them motivated without breaking your budget.
Compensation structures that work: Many farms offer a 10-20% discount on shares or provide one free week per month of active promotion. Some give ambassadors first pick at premium items like heritage tomatoes or specialty cuts. Match your reward to the effort, someone hosting tours deserves more than someone who simply posts occasionally.
Experiential rewards build deeper connection. Invite ambassadors to exclusive harvest dinners, behind-the-scenes farm tours, or early strawberry picking before the public. These experiences cost you little but create memorable moments ambassadors naturally share with their networks.
Recognition matters as much as tangible rewards. Feature ambassadors in your newsletter with their photo and story. Create a “farm family” page on your website. Thank them publicly at member events. A handwritten note after a particularly helpful referral goes surprisingly far.
Keep it simple to sustain long-term. Track contributions in a basic spreadsheet and check in quarterly. Send a small seasonal gift, a jar of jam, bouquet, or farm store credit. The goal is making ambassadors feel valued, not creating administrative burden that prevents you from farming.
When compensation feels fair and personal, ambassadors remain enthusiastic advocates year after year.
Promoting Your Referral and Ambassador Programs
The best referral program in the world won’t work if your members don’t know it exists. Many farms launch these programs quietly, mention them once in a newsletter, then wonder why participation stays low. Successful promotion requires multiple touchpoints throughout the season, meeting members where they already engage with your farm.
Start by weaving the program into your existing communication channels rather than treating it as a separate announcement. Your weekly newsletter is prime real estate, include a brief referral reminder in the footer or as a P.S. after your farm updates. At pickup locations, place attractive signs near the distribution area where members naturally pause. A simple “Love your CSA? Share it! Ask us about our referral program” catches attention without feeling pushy.
Here’s a practical timeline for introducing and maintaining visibility:
- Week 1-2 of season: Launch announcement in newsletter and welcome packet for new members
- Week 4-6: Reminder at pickup with printed referral cards members can take
- Mid-season farm event: Brief mention during announcements, answer questions in person
- Week 12-14: Social media post featuring a member who successfully referred friends
- Late season (Week 18-20): Final push in newsletter highlighting year-end deadline
- Renewal period: Thank participants and showcase program results in annual recap
Face-to-face moments matter most. Train whoever staffs your pickup to mention the program casually when members express enthusiasm. A simple “So glad you’re enjoying it! We have a referral program if you know anyone who’d love fresh vegetables” plants the seed naturally.
Your welcome packet for new members should include referral details from day one. They’re experiencing peak excitement about joining, making it the perfect time to explain how they can share that with friends. Include a few physical referral cards they can hand out immediately.
Social media works best when you share real stories rather than generic program details. Post photos of referring members with their friends at pickup, or create simple graphics showing what rewards look like. Keep it visual and personal.
Real Success: How Small Farms Grew Their Membership Through Referrals
When Sarah launched Meadowlark Farm in Vermont with just 25 CSA shares in her first season, she knew she couldn’t afford traditional advertising. She decided to offer each founding member one free week of produce for every new member they referred who completed the season. By mid-summer, eight of her original members had brought in friends or family. She ended the season with 38 shares and rolled that momentum into year two, where she started with 52 members, more than double her initial goal.
Sarah’s key lesson: make the ask specific and timely. She sent a mid-season email thanking members for their support and explicitly asking if they knew anyone who might enjoy the farm for next year. She included a simple referral card members could hand to friends. The tangible card, she found, worked better than forwarding emails because it felt more personal and didn’t get lost in inboxes.
Contrast that with Green Valley Farm, a fifteen-year operation in North Carolina with 180 established members. Farm manager Marcus noticed their growth had plateaued despite a waiting list in previous years. He introduced a tiered referral program: one successful referral earned members $25 off their renewal, three referrals meant a free add-on subscription (eggs or flowers), and five referrals earned a complimentary half-share for a friend or family member.
The program brought in 34 new members in the first year, a 19% increase. More importantly, Marcus discovered that his most active referrers were second and third-year members, not the longest-standing ones. These members were still in the enthusiastic phase of CSA membership and had social circles who hadn’t yet joined. He adjusted his outreach to focus more attention on this sweet spot of engaged recent members rather than assuming veterans would be his best advocates.
Both farms learned that authentic enthusiasm, not elaborate incentives, drives referrals.
Common Pitfalls and How to Avoid Them

Even the best-intentioned referral program can stumble if you’re not watching for these common traps.
The biggest mistake? Making the program too complicated. When members need to remember codes, fill out forms, or jump through multiple hoops, they simply won’t bother. Keep it simple enough that you can explain it in one sentence. If your program requires more than two steps for members to participate, simplify it.
Many farms launch generous incentive programs without calculating the actual cost per new member. Run the numbers before you commit. A $50 credit might sound reasonable until you realize it costs you more than that in margin when five members each refer three friends in one month.
Poor tracking derails even simple programs. You forget who referred whom, rewards get missed, and members feel ignored. A basic spreadsheet noting the referrer, new member, date, and reward status prevents most problems. Update it weekly, not whenever you remember.
Farms also commonly fail to promote their programs beyond an initial announcement. Members forget details within weeks. Mention your referral program in every newsletter, post reminders at pickup, and include cards in share bags monthly. Repetition without annoyance is the goal.
Finally, many farmers overlook thanking participants beyond sending the reward. A personal note, public shout-out in your newsletter, or quick conversation at pickup acknowledging their support strengthens the relationship. Recognition costs nothing but makes members feel genuinely valued, encouraging continued advocacy.
The most successful CSA growth doesn’t come from flashy marketing campaigns or aggressive sales tactics. It comes from the genuine enthusiasm of people who love what you’re doing and want their friends to experience it too.
Start small with your referral or ambassador program. Choose one simple incentive, create a straightforward way to track it, and tell your members about it. You can always expand and refine based on what works for your farm and your community.
Remember that these programs do more than just increase member numbers. They deepen the relationships you already have. When members actively participate in growing your farm, they become more invested in its success. They show up more reliably, engage more thoughtfully with what you’re growing, and stick around longer.
Your current members already believe in your farm. Give them an easy way to share that belief with others, recognize their efforts, and watch your community grow organically. The farmers who’ve built lasting CSAs through referrals all say the same thing: the connections matter more than the conversions, and ironically, that’s exactly what makes the conversions happen.