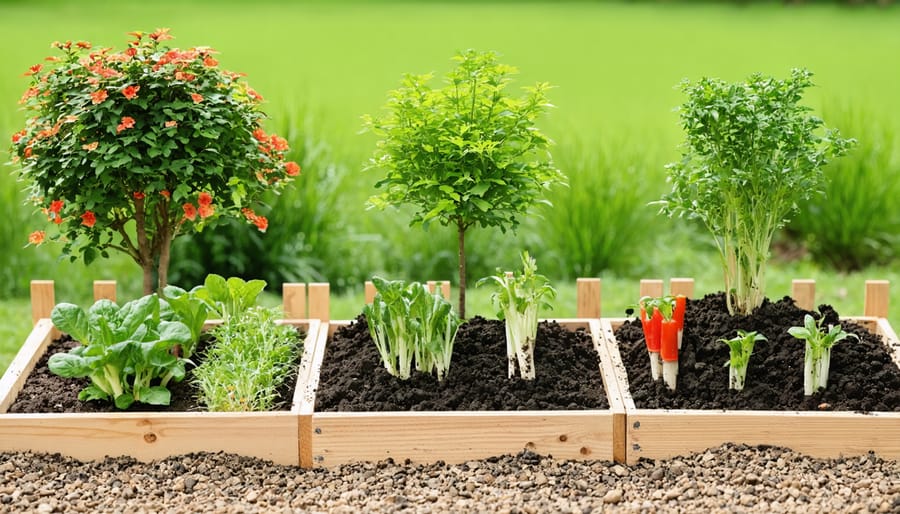
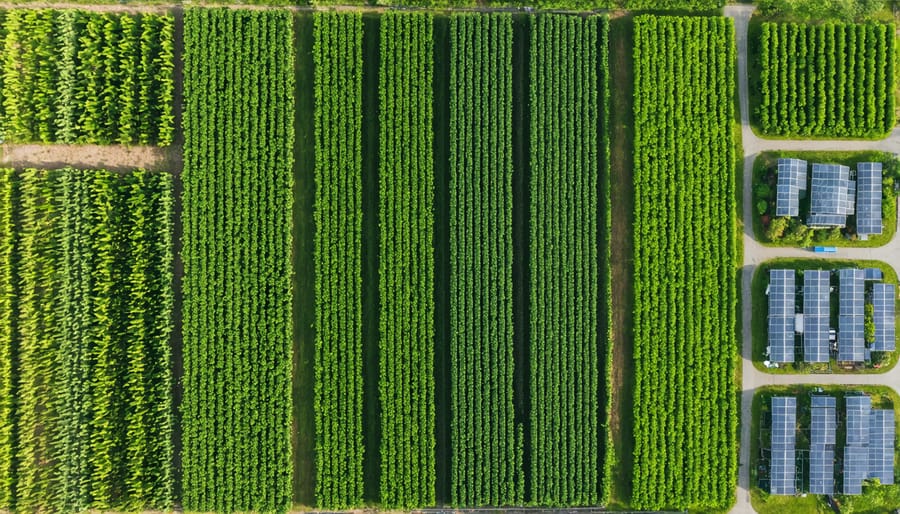
How Virginia’s Economic Partnership Program Strengthens Local CSA Farms

Virginia’s Economic Development Partnership revolutionizes local agriculture by connecting farmers with vital resources, training, and market opportunities. Through innovative grant programs and strategic thriving CSA partnerships, the Partnership has empowered over 1,000 small-scale farmers to expand their operations and reach new customers. Their Agricultural Development Program specifically targets sustainable farming practices, offering dedicated support for organic certification, equipment modernization, and direct-to-consumer marketing initiatives. From helping startups secure initial funding to guiding established farms through expansion, VEDP serves as a crucial catalyst in Virginia’s flourishing agricultural ecosystem, fostering economic growth while promoting environmentally conscious farming methods that benefit both producers and consumers.
VEDP’s Agricultural Support Initiatives
Grant Programs for Small Farms
The Virginia Economic Development Partnership offers several grant programs tailored specifically for small farms looking to grow their operations. The Virginia Small Farm Resource Program provides matching grants up to $5,000 for equipment purchases, infrastructure improvements, and marketing initiatives. Farmers can also access the Agriculture and Forestry Industries Development Fund, which offers financial support for value-added processing facilities and innovative farming projects.
First-time farmers should explore the Beginning Farmer and Rancher Development Program, which combines financial assistance with valuable mentorship opportunities. The application process is straightforward: farmers need to submit a detailed business plan, proof of land ownership or lease agreement, and financial statements.
To boost your chances of approval, consider attending one of VEDP’s grant-writing workshops, offered quarterly throughout Virginia. These sessions provide hands-on guidance for completing applications and connecting with program administrators. Success stories include the Thompson Family Farm, which secured funding to establish their organic herb operation, and Green Valley CSA, which expanded their distribution network through grant support.
Remember to apply early, as funds are distributed on a first-come, first-served basis, and programs often have specific seasonal deadlines.
Technical Assistance Resources
VEDP offers comprehensive technical assistance to help Virginia’s agricultural businesses thrive. Through their expert team of business consultants, farmers and producers can access personalized guidance on business planning, market analysis, and growth strategies. The partnership provides hands-on training workshops focused on sustainable farming practices, marketing techniques, and financial management.
Small-scale farmers can benefit from one-on-one consulting sessions that address specific challenges in their operations. These sessions cover topics like scaling production, implementing new technologies, and developing effective distribution networks. VEDP also connects farmers with industry experts who provide specialized knowledge in areas such as organic certification, food safety compliance, and sustainable farming methods.
Digital resources include online training modules, webinars, and a resource library filled with practical guides and templates. The partnership’s technical assistance program also helps farmers navigate grant applications, secure funding opportunities, and connect with potential buyers and distribution partners. Regular networking events allow farmers to share experiences and build valuable relationships within Virginia’s agricultural community.
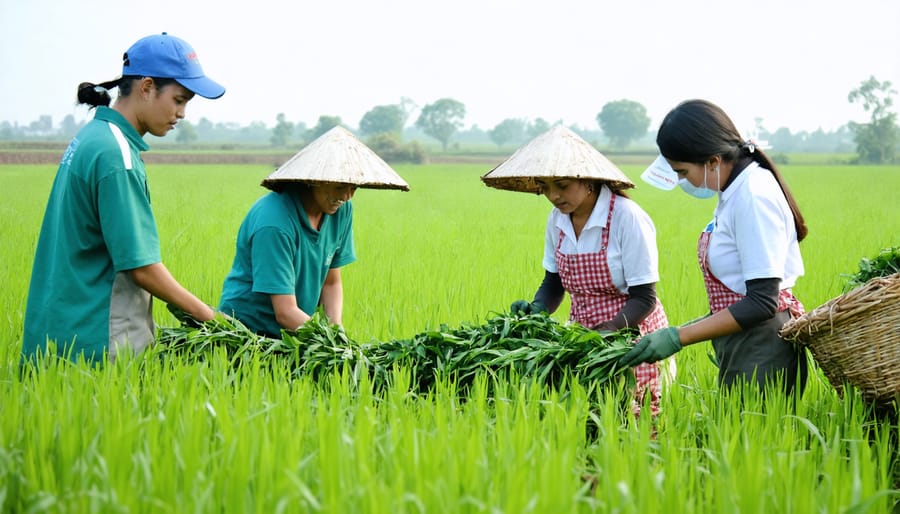
CSA Success Stories Through VEDP Support
Farm Growth and Expansion
The Virginia Economic Development Partnership has played a crucial role in helping local farms expand their operations, as demonstrated by several success stories across the Commonwealth. Take Sweet Valley Organics, for instance, which started as a 5-acre family farm and grew to a 50-acre operation with VEDP’s support through targeted grants and business planning assistance.
Another inspiring example is Blue Ridge Heritage Farm, which transformed from a small dairy operation into a diversified agricultural enterprise. Through VEDP’s guidance, they secured funding for modern irrigation systems and cold storage facilities, enabling them to extend their growing season and increase product variety.
The partnership also supported Mountain View Farm’s transition to organic certification. With VEDP’s help navigating certification requirements and accessing specialty crop grants, they expanded from serving 50 local customers to supplying produce to major regional markets and restaurants.
These success stories highlight VEDP’s comprehensive approach to farm development, combining financial support with technical expertise. The partnership’s agricultural development team works closely with farmers to identify growth opportunities, secure necessary resources, and implement sustainable expansion strategies that benefit both the farms and their communities.
Community Impact Stories
The Virginia Economic Development Partnership has fostered numerous success stories that showcase the transformative power of local agriculture. Take the Story Fields Farm in Shenandoah Valley, which started as a small family operation and now supplies fresh produce to over 200 families through their CSA program. Their success in building food networks has inspired other local farmers to follow suit.
Another notable example is Green Valley Organics in Richmond, which partnered with local schools to create educational programs while providing fresh vegetables for school cafeterias. This initiative not only strengthened the local food system but also helped children understand where their food comes from.
The Partnership also supported Blue Ridge Cattle Company, a family-run operation that expanded from serving 30 local customers to supplying grass-fed beef to restaurants across three counties. Their growth created six new jobs and established vital connections between rural producers and urban consumers.
These success stories demonstrate how targeted support can help small farms scale up sustainably while maintaining their commitment to local food systems and community well-being.
Accessing VEDP Resources for Your CSA
Eligibility Requirements
To qualify for Virginia Economic Development Partnership (VEDP) programs, businesses must be legally registered in Virginia and demonstrate commitment to sustainable growth within the state. Farm operators and agricultural businesses need to meet specific criteria, including having a viable business plan and being in good standing with local and state regulations.
For agricultural enterprises, additional requirements include maintaining proper food safety certifications and following sustainable farming practices. New farmers must show proof of land ownership or a valid lease agreement, while existing operations should demonstrate their current production capacity and growth potential.
The application process involves submitting detailed documentation, including financial statements, market analysis, and projected growth plans. Farmers interested in CSA programs should highlight their community engagement strategies and distribution plans. VEDP also requires participants to commit to creating new jobs and making capital investments in their local communities.
Priority is given to businesses that demonstrate innovation in sustainable agriculture, strong community ties, and potential for market expansion. Applications are accepted on a rolling basis, with review periods typically lasting 4-6 weeks.
Application Tips and Timeline
To maximize your chances of success with VEDP programs, start your application process at least six months before your target launch date. Begin by attending one of their monthly information sessions, which provide valuable insights into program requirements and selection criteria.
Key application steps include submitting a detailed business plan, financial projections, and market analysis. Focus on highlighting your farm’s unique value proposition and sustainable practices. VEDP particularly values applications that demonstrate strong community connections and potential for job creation.
Applications are typically reviewed quarterly, with decisions announced within 8-10 weeks. Successful applicants often work closely with VEDP’s agricultural specialists during the preparation phase. Consider partnering with established local farmers who’ve previously participated in VEDP programs – their mentorship can be invaluable.
Remember to include documentation of your farming experience, land accessibility, and any relevant certifications. For seasonal CSA operations, align your application timing with your growing season to maximize program benefits. Early submissions are encouraged, as some funding opportunities are awarded on a first-come, first-served basis.
Future Growth Opportunities
The Virginia Economic Development Partnership is poised for significant growth in its agricultural support initiatives, with several exciting developments on the horizon. Building on recent policy success stories, VEDP plans to expand its grant programs for small-scale organic farmers and launch an innovative mentorship platform connecting experienced producers with newcomers to the industry.
A major focus for the coming year includes the development of regional food hubs throughout Virginia, designed to strengthen the connection between local farmers and consumers. These hubs will feature state-of-the-art storage facilities and distribution networks, making it easier for small farms to reach larger markets while maintaining product freshness.
VEDP is also introducing a comprehensive digital training program, offering virtual workshops on sustainable farming practices, business management, and marketing strategies. This initiative aims to empower farmers with the knowledge and tools needed to succeed in today’s competitive agricultural landscape.
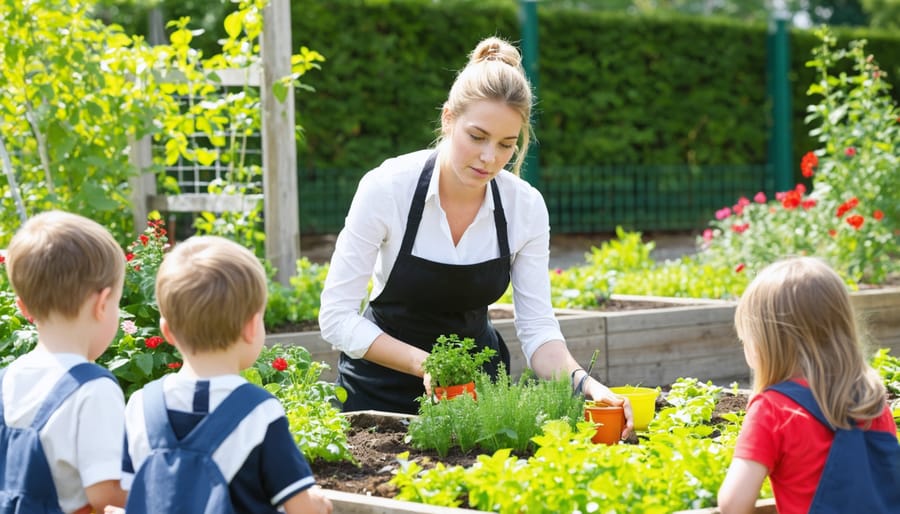
The partnership has secured funding for a new Agricultural Innovation Center, set to break ground next spring. This facility will serve as a testing ground for sustainable farming technologies and provide hands-on training opportunities for aspiring farmers. Additionally, VEDP is developing partnerships with local schools to create agricultural education programs, fostering the next generation of Virginia farmers.
To support these initiatives, VEDP will launch a mobile app connecting consumers directly with local farms, making it easier than ever for residents to access fresh, locally grown produce while supporting their community’s agricultural economy.
The Virginia Economic Development Partnership’s support for local CSA development has become a cornerstone in strengthening Virginia’s agricultural economy and fostering sustainable farming practices. Through targeted resources, training programs, and financial assistance, VEDP has helped numerous small-scale farmers transform their operations into thriving CSA businesses that serve their communities.
Success stories like the Valley Green Farm, which grew from a small family plot to a 200-member CSA with VEDP’s guidance, demonstrate the tangible impact of these support systems. The partnership’s commitment to local agriculture has not only created new employment opportunities but has also improved access to fresh, organic produce for thousands of Virginia residents.
Looking ahead, VEDP’s continued investment in CSA development promises to create a more resilient local food system while strengthening connections between farmers and consumers. For aspiring farmers and existing CSA operators, VEDP remains a valuable ally in navigating the challenges of sustainable agriculture and building successful farm-to-table enterprises that benefit both the economy and community health.