Testing your soil through UMass Extension’s Soil and Plant Nutrient Testing Laboratory gives you the precise data needed to transform your compost from a guessing game into a targeted soil-building strategy. Submit samples following the lab’s protocol—collect 15-20 cores from different spots in your growing area, mix them thoroughly, and send two cups of the combined soil along with your $20 fee and completed form. Request the basic soil test plus organic matter analysis to understand exactly what nutrients your compost needs to supply. Within two weeks, you’ll receive a detailed report showing pH levels, nutrient concentrations, and specific recommendations for amendments, allowing you to adjust your compost recipe and application rates to address deficiencies rather than over-applying materials blindly. Many CSA farmers who integrate regular UMass soil testing with their composting programs report healthier crops, reduced input costs, and improved soil structure within just two growing seasons. The investment pays for itself quickly when you stop wasting money on unnecessary amendments and start feeding your soil exactly what it needs to support thriving vegetables, season after season.
What Makes UMass Soil Testing Different
The UMass Extension Soil and Plant Nutrient Testing Laboratory has earned its reputation as one of the Northeast’s most trusted resources for soil analysis, serving everyone from commercial CSA farmers to backyard gardeners. What sets this service apart is its unique combination of accuracy, affordability, and accessibility—three qualities that matter most when you’re making important decisions about your soil health and compost management.
Located at the University of Massachusetts Amherst, the lab offers several testing packages tailored to different needs. The Standard Soil Test analyzes pH, nutrient levels including nitrogen, phosphorus, and potassium, plus essential micronutrients and organic matter content. For farms incorporating compost, the Compost and Manure Analysis provides specific insights into the nutrient value of your amendments. Pricing remains remarkably affordable, with the Standard Soil Test costing around $15 per sample—a small investment considering the value of the information you receive.
Turnaround times typically range from 7 to 14 business days during most of the year, though spring can bring longer waits as gardening season kicks into high gear. The lab recommends submitting samples in fall or early winter when possible to avoid the rush.
CSA farmers particularly appreciate the lab’s research-backed recommendations that account for regional growing conditions and soil types specific to Massachusetts and the broader Northeast. Maria Chen, who runs a 50-member CSA in Western Massachusetts, credits UMass soil testing with helping her fine-tune her compost application rates. “The detailed reports helped me understand exactly what my compost was contributing,” she shares. “I stopped over-applying and saved both time and resources.”
Home gardeners trust the service because results come with clear, practical recommendations written in accessible language—no agriculture degree required to understand what your soil needs.
Understanding Your Soil Before Adding Compost
The Key Numbers CSA Farmers Need to Watch
When your UMass soil report arrives, you’ll find a treasure map of information that guides your composting and growing decisions. Let’s decode the numbers that matter most for CSA success.
First up is pH, measuring how acidic or alkaline your soil is on a scale from 0 to 14. Most vegetables thrive between 6.0 and 7.0. If your pH is off, even nutrient-rich compost won’t help plants access what they need. The good news? This is easily adjustable with lime for acidic soil or sulfur for alkaline conditions.
Next, you’ll see the big three nutrients: nitrogen (N), phosphorus (P), and potassium (K). Nitrogen fuels leafy growth, phosphorus supports root development and flowering, and potassium strengthens disease resistance. UMass reports these as parts per million and rate them from very low to very high. These numbers tell you exactly what your compost needs to deliver.
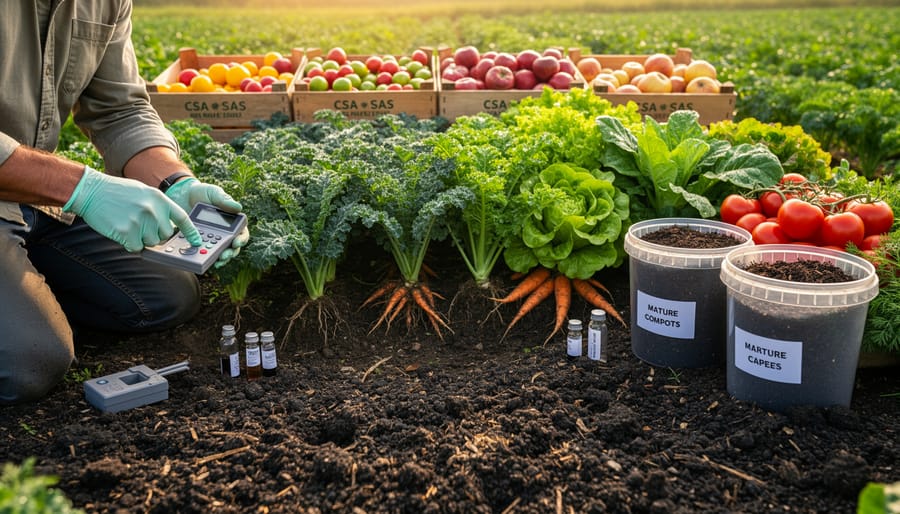
Organic matter percentage is the game-changer for CSA farmers. Healthy soil typically contains 5 to 8 percent organic matter, though some exceptional farms reach higher. This number directly reflects your compost application success over time. One Vermont CSA farmer raised her organic matter from 3 to 7 percent over five seasons through consistent compost use, resulting in noticeably better water retention during dry spells.
The report also includes micronutrients like calcium and magnesium. While often overlooked, these support everything from strong plant cell walls to chlorophyll production, making them essential for producing the vibrant, nutritious vegetables your CSA members expect.
How Compost Changes Your Soil Chemistry
When you add compost to your garden or farm, you’re doing more than just enriching the soil with nutrients. Compost fundamentally transforms your soil’s chemistry in multiple beneficial ways. It increases organic matter content, which improves the soil’s ability to hold moisture and nutrients where plant roots can access them. As compost breaks down, it releases nitrogen, phosphorus, and potassium gradually, creating a steady nutrient supply rather than the quick spike and crash of synthetic fertilizers.
Compost also affects your soil’s pH balance, typically nudging acidic soils toward a more neutral range that most vegetables prefer. The organic matter feeds beneficial soil microbes, which in turn create compounds that help plants absorb nutrients more efficiently. Additionally, compost additions improve your soil’s cation exchange capacity, essentially creating more storage spaces for nutrients.
Regular UMass soil testing helps you track these gradual improvements over time. By testing annually, you can see how your compost applications are changing nutrient levels, organic matter percentages, and pH. This data empowers you to adjust your compost quantities and application timing, ensuring you’re building soil health without overdoing any single nutrient.
Creating Your CSA Testing Schedule
Timing is everything when it comes to soil testing for your CSA operation. The ideal schedule balances getting actionable data with the practical realities of farm life and seasonal rhythms.
For farms integrating compost, late fall is your sweet spot for baseline testing. Sample after harvest but before applying winter compost or cover crops. This gives you a clear picture of what your soil needs and plenty of time to adjust your compost recipes before spring planting. UMass Extension recommends testing every three years for established fields, but if you’re actively building soil with compost, annual testing helps you track progress and avoid over-application of nutrients.
Different field zones need different attention. Test high-use areas like your main vegetable beds annually, especially if you’re rotating crops intensively. Less demanding zones, such as perennial beds or areas planted with nitrogen-fixing cover crops, can stretch to every two or three years.
Here’s a practical approach: divide your farm into zones based on crop rotation and compost application rates. Sample Zone A in year one, Zone B in year two, and Zone C in year three, while retesting Zone A. This staggers costs while maintaining comprehensive monitoring.
Spring testing works too, but sample at least six weeks before planting to allow time for receiving results and making adjustments. Sarah Chen, a CSA farmer in Western Massachusetts, follows this rhythm: “I test my intensive beds every November, get my results by December, and adjust my compost blends over winter. By March, I’m applying precisely what each bed needs.”
Coordinate your testing schedule with compost application timing. Sample before adding compost to understand baseline needs, then verify improvements the following season.
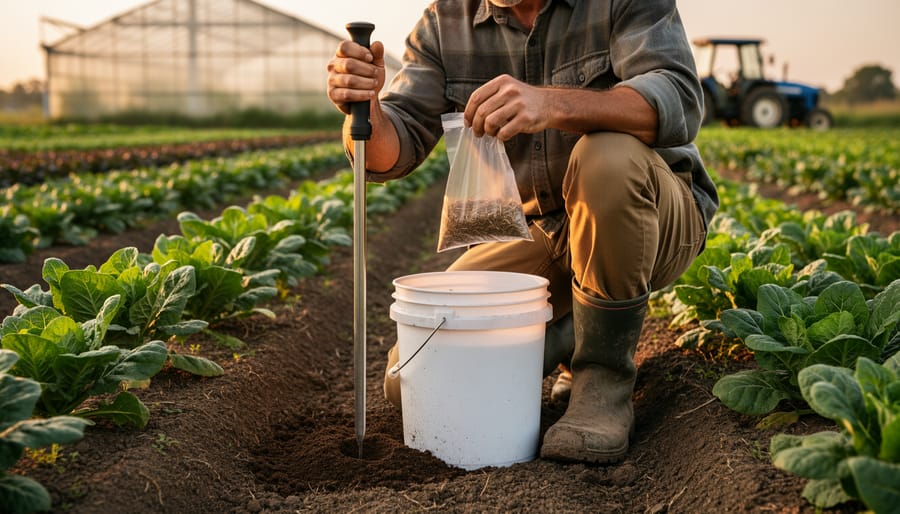
How to Collect Soil Samples the Right Way
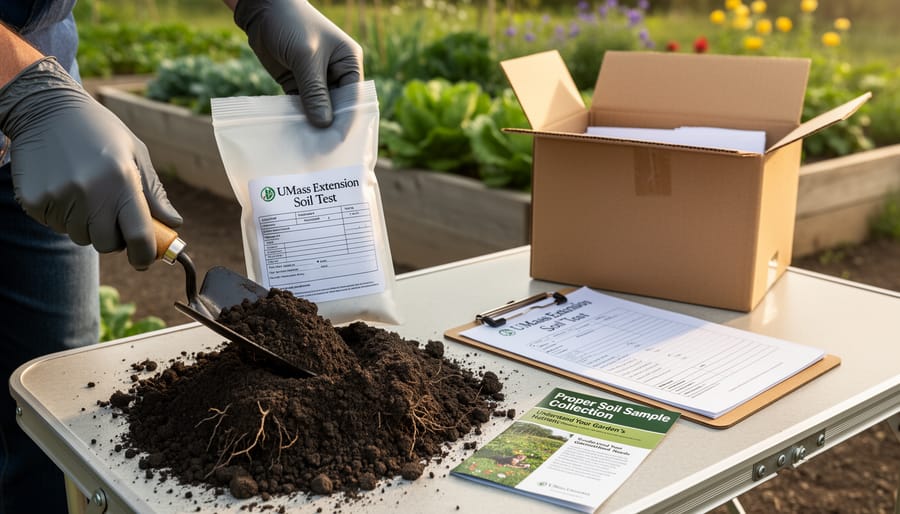
Collecting accurate soil samples is simpler than you might think, and getting it right makes all the difference in your results. Here’s what you’ll need: a clean bucket, a soil probe or garden trowel, and a sampling container from UMass Extension.
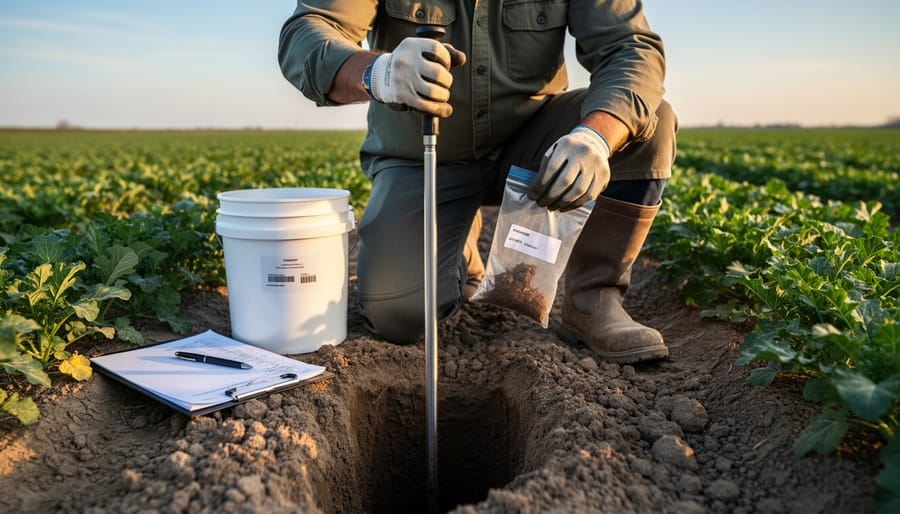
Start by identifying the area you want to test. If you’re testing garden beds or fields where you plan to add compost, keep those areas separate from your lawn or other zones. Walk a zigzag pattern across your sampling area, collecting 10-15 small cores or slices from different spots. This random pattern gives you a true picture of your soil’s overall condition rather than just one small area.
For most garden and agricultural applications, sample to a depth of 6-8 inches. If you’re testing established perennial beds or orchards, go a bit deeper to 8-12 inches. Push your probe straight down, pull up the core, and place it in your clean bucket. Avoid sampling near buildings, roads, or burn piles where contamination could throw off your results.
Once you’ve collected all your cores, mix them thoroughly in the bucket to create one composite sample. Remove any rocks, roots, or debris, then fill your UMass sample container with about two cups of this mixed soil. Local farmer Maria Rodriguez from Western Massachusetts credits proper sampling technique with helping her dial in her compost application rates perfectly: “Following these steps gave me confidence that my test results truly represented what was happening across my whole field.”
Using Test Results to Fine-Tune Your Compost Program
When Compost Alone Isn’t Enough
Sometimes your UMass soil test results reveal challenges that even the best composting strategies can’t fully address. Don’t be discouraged if your report shows severe deficiencies in specific nutrients like phosphorus, potassium, or micronutrients. This is actually valuable information that helps you make targeted improvements.
Take Sara Chen, a Massachusetts CSA farmer who discovered her soil’s magnesium levels were critically low despite years of composting. After applying dolomitic limestone as recommended by her soil test, her tomato yields increased by 40 percent the following season. The key is understanding that compost excels at building organic matter and providing slow-release nutrients, but it may not supply enough of certain elements your crops desperately need.
When tests indicate specific deficiencies, consider approved organic amendments like rock phosphate for phosphorus, greensand for potassium, or kelp meal for trace minerals. Think of compost as your foundation and these targeted amendments as precision tools. By combining regular compost applications with strategic nutrient additions based on soil test guidance, you’ll create truly optimal growing conditions for abundant, healthy harvests.
Real Results: A Massachusetts CSA Farmer’s Story
When Sarah Chen started Green Valley CSA in Western Massachusetts five years ago, she knew healthy soil would be the foundation of her success. What she didn’t expect was how dramatically UMass soil testing would transform her operation.
“I thought our homemade compost was doing the job,” Sarah admits, “but our first UMass soil test told a different story.” The results revealed high phosphorus levels but dangerously low calcium, along with a pH of 5.8—far too acidic for most vegetables.
Armed with these insights, Sarah adjusted her composting program. She began sourcing crushed oyster shells from a local seafood processor and added lime based on UMass recommendations. She also diversified her compost ingredients, incorporating carbon-rich materials like wood chips to balance the nitrogen-heavy kitchen scraps and manure she’d been relying on.
The transformation didn’t happen overnight, but the metrics speak for themselves. After two growing seasons of targeted amendments guided by annual soil tests, her soil pH climbed to an optimal 6.5. Calcium levels doubled, and organic matter increased from 3.2 percent to 5.8 percent.
“Our tomato yields jumped by nearly 40 percent in year two,” Sarah shares enthusiastically. “But the real win? Our members noticed. They commented on how the vegetables tasted sweeter, stored longer, and had that deep, vibrant color you only get from truly healthy plants.”
By the third season, Sarah reduced her external fertilizer costs by 60 percent because her improved compost was finally providing balanced nutrition. Member retention hit 92 percent, well above the regional average.
“UMass soil testing gave me confidence,” Sarah reflects. “Instead of guessing what my soil needed, I knew exactly how to make my compost work harder for us.”
Getting Started With Your First Soil Sample
Ready to unlock the secrets hiding in your soil? Getting started with a UMass soil sample is easier than you might think. First, visit the UMass Extension Soil and Plant Nutrient Testing Laboratory website to order your testing kit. Current pricing runs approximately $20 for a standard soil test, which includes essential measurements like pH, phosphorus, potassium, and organic matter content. The investment is minimal compared to the insights you’ll gain.
When your kit arrives, you’ll find clear instructions for collecting samples. The key is taking samples from multiple spots across your growing area and mixing them together for an accurate representation. Submit your sample with payment through mail, and expect results within two weeks during peak season.
Your results will arrive with specific recommendations tailored to Massachusetts growing conditions. Don’t feel overwhelmed by the numbers – the report includes easy-to-understand explanations and application rates for amendments. Pay special attention to the organic matter percentage, as this becomes your baseline for tracking improvements over time.
Here’s a tip from seasoned CSA farmer Maria Rodriguez: “I test my fields every two years and keep a simple spreadsheet. Watching my organic matter climb from 3.2% to 5.8% over six years proved my compost program was working. Those numbers translate directly to healthier crops and happier customers.”
Start your soil health journey today, and you’ll have data-driven confidence as you build your compost integration strategy.
Taking the guesswork out of soil management is one of the most empowering steps you can take as a CSA farmer or home gardener. UMass soil testing provides the concrete data you need to make your compost work harder, transforming it from a simple soil amendment into a precision tool for building long-term soil health. Instead of wondering whether your compost application rates are right or if nutrients are balanced, you’ll have science-backed answers that guide every decision.
Starting your testing journey is straightforward and affordable. A single soil test can reveal opportunities to adjust your composting practices, save money on unnecessary amendments, and grow more nutritious produce for your community. Remember, healthy soil doesn’t just support plant growth—it creates vegetables and fruits with higher nutrient density, directly benefiting everyone who enjoys your harvest.
The connection between thriving soil and vibrant community health is undeniable. By investing in professional soil testing today, you’re not just improving your farm or garden—you’re contributing to a more sustainable local food system that nourishes both people and the planet. Take that first step and discover what your soil is telling you.