How Indigenous Communities Perfected Plant Breeding Centuries Before Modern Science
Select parent plants displaying your most desired traits—whether drought tolerance, exceptional flavor, or disease resistance—and save their seeds season after season. This simple act, practiced by indigenous farmers for millennia, allows plants to adapt naturally to your specific microclimate, soil conditions, and growing practices. Within three to five generations, you’ll notice remarkable improvements as your plants become uniquely suited to your garden’s environment.
Observe how traditional plant breeding differs fundamentally from laboratory genetic modification. Indigenous methods rely on careful observation, patient selection, and allowing plants to cross-pollinate naturally within your growing space. When you save seeds from the earliest-ripening tomatoes or the most cold-hardy lettuce, you’re actively shaping future generations to thrive in your exact conditions—no scientific equipment required.
Implement the “grow-out” technique used by Native American seed keepers for centuries: plant significantly more specimens than you need, then rigorously select only the top performers for seed saving. Remove plants showing weakness, pest susceptibility, or undesirable characteristics before they flower, ensuring only your strongest genetics move forward. This intensive selection process accelerates adaptation and creates locally resilient varieties.
Join the growing community of farmers and gardeners reclaiming this ancient wisdom. Sarah Martinez, a New Mexico CSA farmer, developed her own drought-resistant bean variety through just four seasons of dedicated selection, reducing her irrigation needs by forty percent while maintaining abundant harvests. Her success demonstrates how accessible and powerful these time-tested techniques remain for modern growers seeking sustainable, locally adapted crops.
What Indigenous Plant Breeding Really Means
Indigenous plant breeding is a time-honored approach that works with nature rather than against it. At its core, this method involves carefully observing plants in your own garden or farm, identifying those with desirable traits, and saving seeds from the best performers year after year. It’s essentially guided natural selection, where farmers and gardeners become partners with their plants.
Unlike modern industrial breeding that often happens in controlled laboratory settings or distant research facilities, indigenous breeding takes place right where you’re growing. You’re selecting varieties that thrive in your specific soil, climate, and growing conditions. This might mean choosing the tomato that ripened earliest in your short growing season, the squash that resisted local pests without chemicals, or the beans that produced abundantly despite that unusual dry spell.
The beauty of this approach lies in its sustainability and accessibility. You don’t need expensive equipment or specialized scientific knowledge to begin. Instead, you rely on careful observation, patience, and a genuine connection to your plants. Over multiple seasons, you’re essentially creating varieties perfectly adapted to your unique environment.
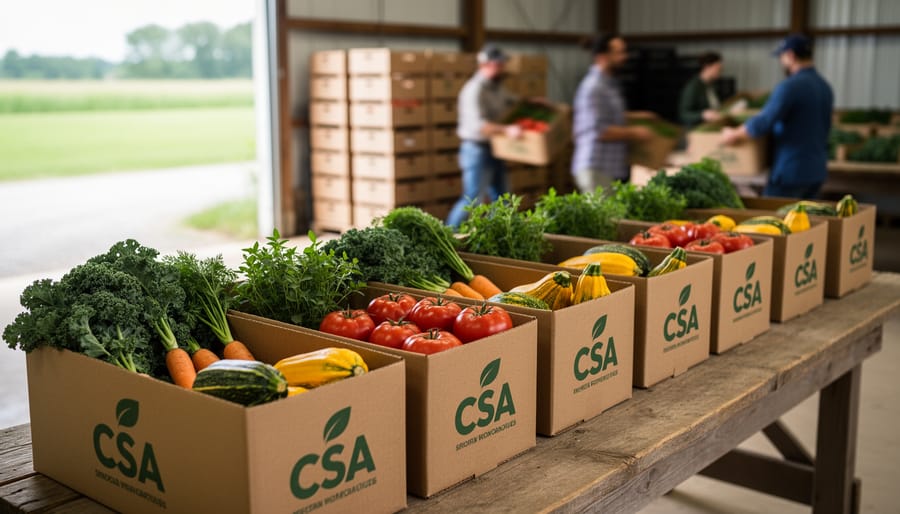
This method aligns beautifully with CSA values and organic farming principles. By saving and selecting seeds from plants that naturally resist pests and diseases in your conditions, you reduce the need for external inputs. You’re building resilience into your crops while maintaining genetic diversity, something increasingly important as our climate shifts.
Maria, a CSA farmer in Vermont, shared how she developed her own cold-hardy kale variety over seven seasons simply by saving seeds from plants that survived early frosts. Today, her variety extends her harvest season by nearly three weeks, delighting CSA members with fresh greens well into November.
Time-Tested Selection Methods That Still Work Today
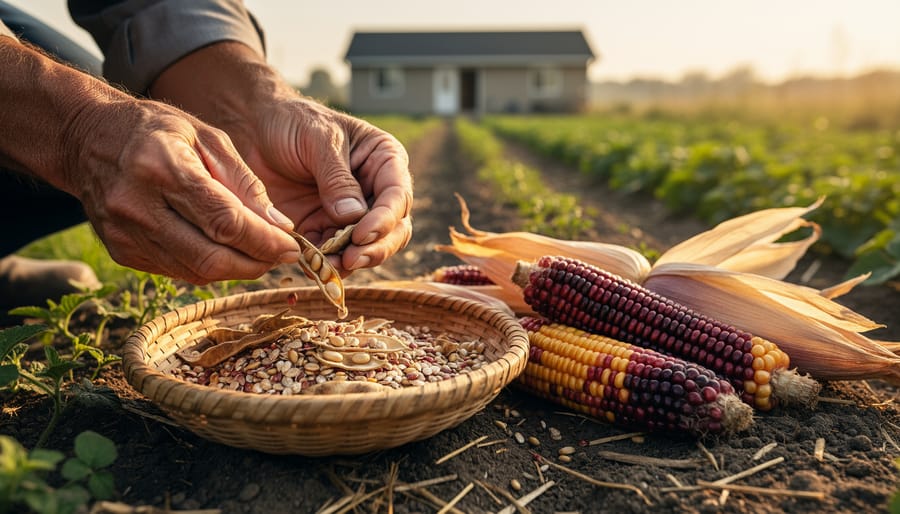
Saving Seeds from the Best Performers
The heart of plant breeding lies in careful observation and selection. Each growing season, walk through your garden or field with a critical eye, identifying plants that truly shine. Look for those producing the sweetest tomatoes, the crispiest lettuce, or peppers with exceptional heat and flavor. Pay attention to plants that resist common diseases while their neighbors struggle, or those that keep producing long after others have finished.
Mark your star performers early in the season with stakes, ribbons, or tags so you can easily find them at harvest time. This practice, deeply rooted in traditional seed saving practices, allows you to gradually improve your crops year after year.
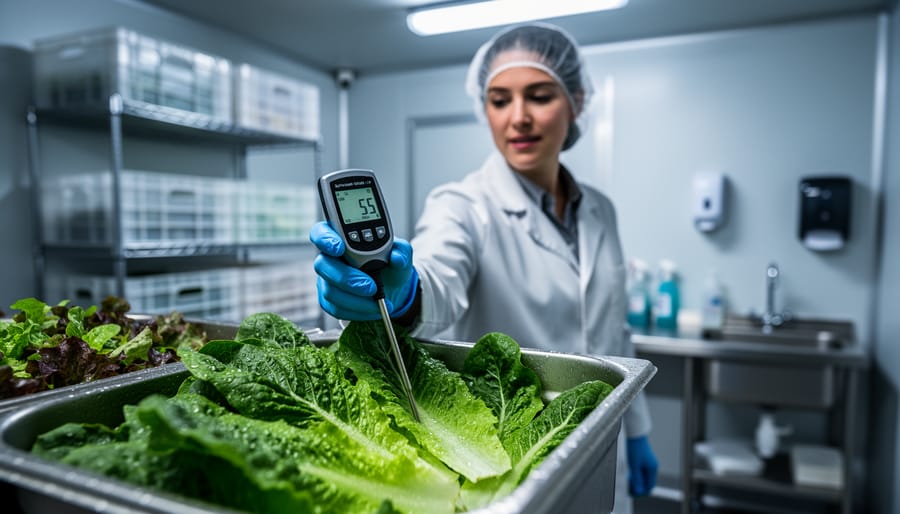
When saving seeds, let fruits fully ripen on the plant, even past the eating stage. For tomatoes and cucumbers, scoop out seeds and ferment them in water for a few days to remove germination inhibitors. Rinse thoroughly and dry on screens or plates. For beans and peas, simply let pods dry completely on the plant before harvesting.
Store your carefully selected seeds in paper envelopes labeled with the plant’s standout characteristics and the year. Keep them in a cool, dry location. Sarah Chen, a CSA farmer in British Columbia, credits this simple selection method with developing her now-famous drought-tolerant kale variety over just five seasons, proving that patient observation yields remarkable results for growers of all scales.
Growing Plants in Diverse Environments
Indigenous farmers were masters at reading their landscapes, and they used this knowledge brilliantly when developing resilient crop varieties. Rather than creating uniform growing conditions, these agricultural pioneers intentionally planted seeds across different microclimates—from sunny hilltops to shaded valleys, moist lowlands to well-drained slopes.
This strategic approach allowed plants to naturally adapt to varying conditions over generations. A corn variety might develop drought tolerance when grown on dry hillsides while its siblings in the valley became better at handling moisture. Farmers would then save seeds from plants that thrived in each specific location, gradually creating a collection of locally adapted varieties.
Take Maria Gonzales, a small-scale organic farmer in New Mexico, who revived this practice with heirloom beans. She planted the same variety across her farm’s three distinct zones—a sunny terrace, a partially shaded area, and a cooler north-facing slope. After five seasons of saving seeds from the best performers in each location, she now has three wonderfully adapted bean varieties that consistently outperform commercially available seeds in their respective areas. This time-tested method costs nothing but patience and observation, making it perfect for home gardeners and CSA farms looking to develop truly local varieties.
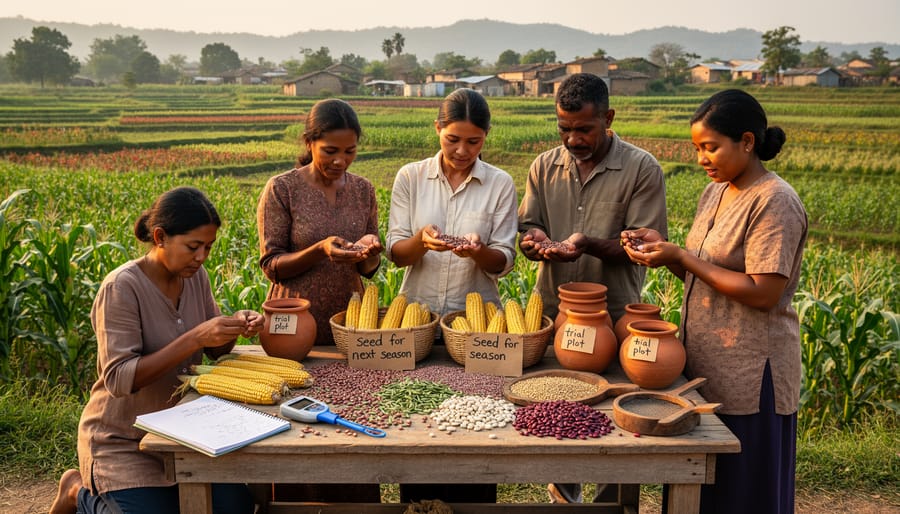
Community Knowledge Sharing and Seed Exchange
Indigenous plant breeding thrived through vibrant community collaboration, where knowledge flowed as freely as the seeds themselves. Through seed exchange networks, neighboring villages and distant communities shared their best varieties, creating a living library of genetic diversity. When a farmer discovered corn that resisted local pests or beans that thrived in drought, those seeds traveled along trade routes, carrying generations of accumulated wisdom.
These exchanges weren’t just about physical seeds. They included detailed observations about growing conditions, harvest timing, and companion planting relationships that made each variety successful. Elders taught younger generations to recognize desirable traits and preserve them through careful selection. This collective approach meant that plant improvements benefited entire regions rather than individual farms.
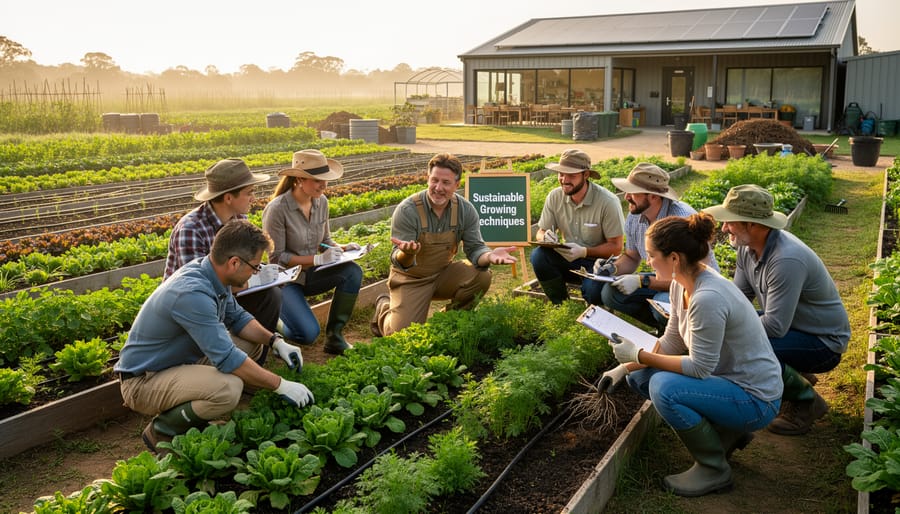
Today, you can embrace this tradition by participating in local seed swaps or joining heritage seed preservation groups. Share your garden successes with neighbors, document what works in your microclimate, and contribute to the collective knowledge that strengthens food security for everyone.
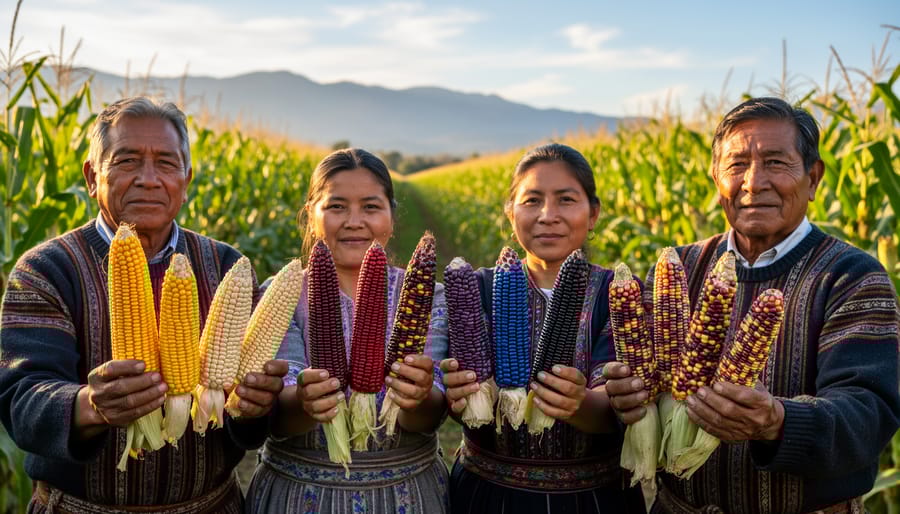
Crops Transformed by Indigenous Expertise
From Wild Teosinte to Modern Corn
Thousands of years ago, indigenous farmers in what’s now Mexico looked at a scrubby wild grass called teosinte and saw potential. This humble plant had tiny seed heads with just a handful of hard kernels, nothing like the plump corn cobs we know today. But through careful observation and patient selection, these agricultural pioneers began saving seeds from plants that showed desirable traits like larger kernels, more seeds per stalk, and easier-to-harvest ears.
Generation after generation, Mesoamerican communities shared seeds and knowledge, gradually transforming teosinte into maize. They selected plants that produced sweeter kernels, grew taller, and adapted to different climates and elevations. This remarkable achievement happened without laboratories or scientific equipment, just keen observation and deep understanding of plant behavior.
The result? One of humanity’s most successful breeding projects. Modern corn now feeds billions worldwide and comes in countless varieties, from blue corn in the Southwest to rainbow-colored heirloom types. This ancient success story reminds us that sustainable plant breeding doesn’t require complex technology. Instead, it relies on patience, observation, and respect for the natural variation within plant populations. Today’s organic farmers and gardeners can still use these time-tested principles to develop crops perfectly suited to their local conditions.
Potato Diversity in the Andes
High in the Andes Mountains, indigenous farmers have been practicing plant breeding for over 8,000 years, creating an incredible legacy of potato diversity. These skilled cultivators developed more than 4,000 distinct potato varieties, each perfectly suited to specific microclimates and elevations ranging from sea level to 15,000 feet.
What makes this achievement remarkable is how farmers worked with nature rather than against it. They carefully observed which plants thrived in particular conditions, selecting seeds from the strongest performers season after season. Some varieties flourish in freezing highland temperatures, while others excel in warmer valley climates. Certain potatoes resist frost damage, others tolerate drought, and many possess natural defenses against local pests and diseases.
This patient, observational approach offers valuable lessons for today’s organic growers. Andean farmers didn’t need laboratories or complex technology. Instead, they relied on deep knowledge of their land, careful seed saving, and community collaboration to share successful varieties. Their methods prove that sustainable plant breeding can happen right in your own garden or farm, adapting crops to your unique growing conditions while preserving agricultural biodiversity for future generations.
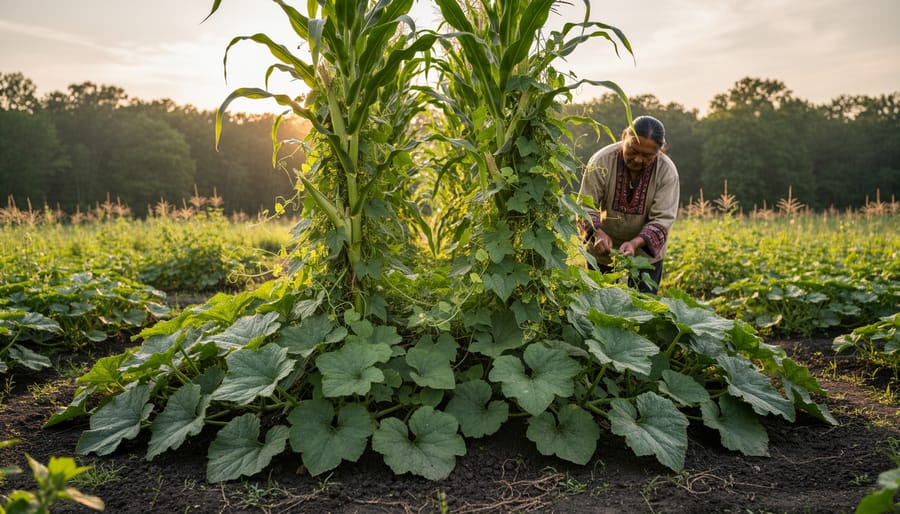
The Three Sisters and Companion Breeding
Indigenous farmers across North America developed one of agriculture’s most elegant examples of companion breeding: the Three Sisters. Over centuries, they carefully selected corn varieties that grew tall and sturdy, providing natural trellises. They bred climbing bean varieties that could grip those corn stalks while fixing nitrogen in the soil to nourish their companions. Squash plants were developed with broad leaves that shaded the ground, retaining moisture and suppressing weeds.
This wasn’t accidental. These farmers observed how plants interacted and deliberately saved seeds from individuals that performed best together. They selected corn with strong stalks that wouldn’t topple under bean weight, beans with moderate vigor that wouldn’t overwhelm the corn, and squash varieties that thrived in partial shade.
Today, many small-scale farmers are rediscovering these time-tested combinations. Sarah Chen, who runs a community-supported agriculture program in Wisconsin, reports that planting heritage Three Sisters varieties reduced her fertilizer needs by forty percent while increasing overall yield per square foot. You can start this tradition in your own garden by choosing open-pollinated varieties specifically suited to companion planting and saving seeds from your most successful plant partnerships each season.
Why These Methods Matter for Your CSA or Garden
Building Resilience Without Chemicals
When you breed plants that naturally fend off pests and diseases, you’re essentially teaching your garden to protect itself. This approach, practiced by indigenous farmers for centuries, means selecting seeds from the strongest, healthiest plants each season—those that thrived despite pest pressure or disease challenges.
Over time, this creates varieties with built-in defenses. Instead of reaching for sprays or treatments, you’re growing plants with natural pest resistance already coded into their genetics. Think of it as building a stronger immune system for your crops.
Local CSA farmer Maria Rodriguez shares her experience: “After five years of saving seeds from my most robust tomato plants, I noticed fewer aphid problems and virtually no blight. My plants simply became tougher.” This resilience means less work, lower costs, and healthier produce for your family or customers.
The process is surprisingly simple. Observe which plants stay healthy when others struggle, save their seeds, and plant them next season. Each generation becomes stronger and better adapted to your specific growing conditions and local pest populations.
Creating Locally Adapted Varieties
Indigenous plant breeding techniques excel at creating varieties that thrive in your unique microclimate and soil conditions. Rather than forcing plants to adapt to your garden, these time-tested methods work with nature’s wisdom to develop crops that feel right at home.
The beauty of traditional breeding lies in its simplicity and effectiveness. By saving seeds from your best-performing plants year after year, you’re essentially teaching your crops to flourish in your specific environment. Those tomatoes that ripened earliest? Save their seeds. That squash plant that shrugged off the summer drought? It’s your breeding stock for next season.
Indigenous farmers have been perfecting climate-adapted varieties for thousands of years through careful observation and selection. They notice which plants handle their growing season’s quirks, whether that’s late spring frosts, intense summer heat, or early fall rains. This attention to detail creates resilient varieties that require fewer inputs and less fussing.
Starting your own breeding program doesn’t require scientific equipment or specialized knowledge. Begin by growing diverse varieties of your favorite crops, then observe closely throughout the season. Note which plants thrive without extra water, resist local pests, or produce abundantly. Save seeds only from these champions. Within just a few generations, you’ll notice remarkable improvements in vigor and productivity. Your plants will essentially become custom-tailored to your garden’s unique personality, creating a sustainable cycle of continuous improvement.
Getting Started with Indigenous-Inspired Plant Selection
Ready to bring indigenous-inspired plant selection into your growing space? The beauty of these traditional methods is that you can start small and scale up as you learn. Begin by observing your existing plants with fresh eyes. Which tomatoes consistently produce well despite that dry spell in August? Which beans seem unfazed by pests that attack their neighbors? These resilient performers are your foundation.
Start your selection journey by saving seeds from your top three to five best-performing plants of each variety you grow. Look beyond just yield—consider flavor, disease resistance, and how well plants handle your specific climate challenges. Keep detailed notes about what makes these plants special. Did they ripen earlier? Handle heat stress better? Produce reliably even during that unexpected cold snap?
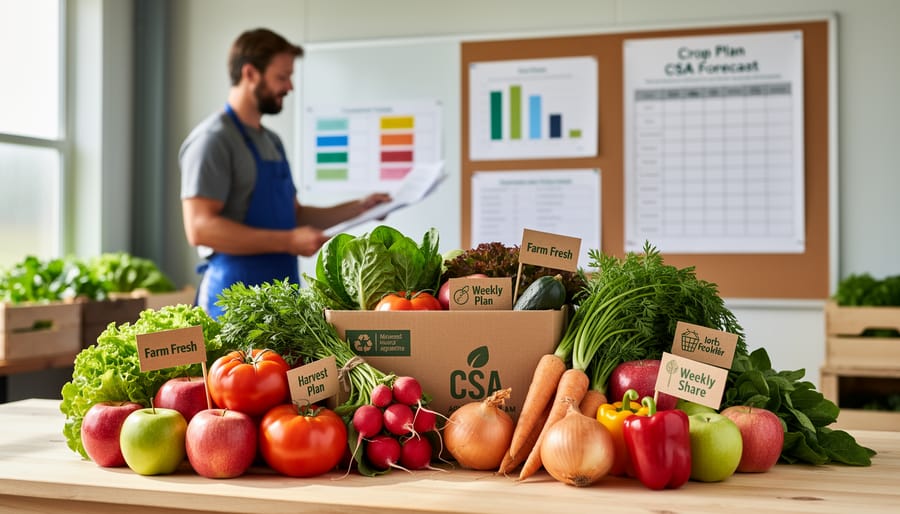
For CSA farmers and market gardeners, designate a small breeding plot where you can grow out saved seeds and observe second-generation results. This doesn’t require fancy equipment or extensive land—even a 10×10 foot area can yield valuable insights. Home gardeners can dedicate a corner of their garden or a few containers to this experimentation.
Connect with other growers in your region who are working with the same varieties. Seed swaps and local gardening groups offer opportunities to share genetics that are already adapted to your area’s conditions. Many experienced farmers find that collaborating accelerates their learning curve significantly.
Maria Rodriguez, a CSA farmer in New Mexico, started with just one heirloom squash variety five years ago. By consistently selecting seeds from plants that thrived in her high-desert conditions, she now grows a uniquely adapted strain that her customers request specifically. Her advice? “Start simple, stay consistent, and trust what your land tells you.”
Remember, indigenous plant breeding is a long-term relationship with your seeds and soil. Even small steps today create stronger, more resilient crops for tomorrow.
Farmer Success Story: Reviving Heritage Varieties at Sundown Valley Farm
When Maria Chen took over Sundown Valley Farm in 2017, she inherited fields that had grown the same hybrid tomato varieties for decades. Today, her thriving 15-acre CSA operation showcases over thirty unique vegetable varieties, each perfectly adapted to her region’s challenging clay soil and unpredictable spring weather.
Maria’s journey into indigenous selection methods began with frustration. Commercial seeds consistently underperformed in her microclimate, and she was tired of fighting against nature. She decided to let nature guide her instead.
Her approach was beautifully simple. Each season, Maria planted diverse open-pollinated varieties and carefully observed which plants thrived without extra intervention. She saved seeds only from the strongest performers, those that naturally resisted local pests, tolerated her heavy soil, and produced abundantly despite weather extremes.
The results speak for themselves. After just four growing seasons, Maria’s cherry tomatoes now ripen two weeks earlier than standard varieties, crucial for her short season. Her Romano beans developed remarkable drought tolerance during the region’s dry summers. Most impressive is her signature butternut squash, which members rave about for its exceptional sweetness and storage quality lasting well into March.
The biggest challenge was patience. Maria admits the first two years felt uncertain as she watched some plants fail completely. She also faced skepticism from neighboring farmers who questioned abandoning proven commercial varieties.
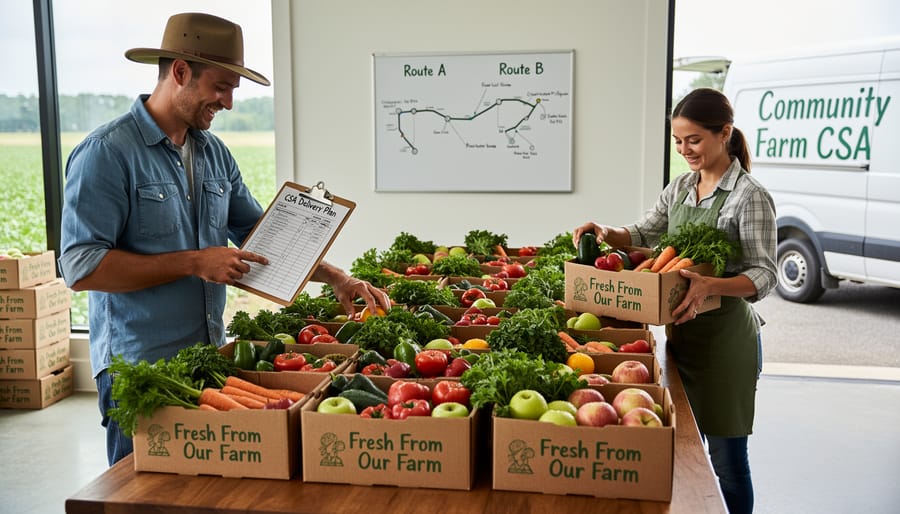
Her advice for others is refreshingly practical: start small with one or two crops you know well. Keep detailed notes about which individual plants perform best under stress. Most importantly, trust the process and remember that you’re not just growing vegetables but creating a living legacy adapted specifically to your land. Maria now shares her unique seeds with other CSA farmers, spreading locally adapted resilience throughout her farming community.
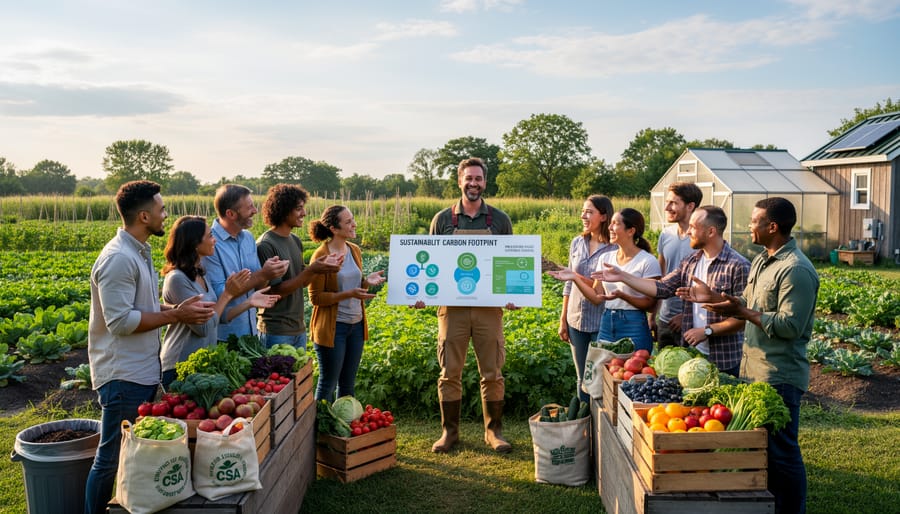
Indigenous plant breeding practices offer us a roadmap toward more resilient, sustainable agriculture. These time-tested methods, refined over countless generations, remind us that working with nature rather than against it yields the most nourishing results. By observing how plants adapt to local conditions, saving seeds from our strongest performers, and sharing knowledge within our communities, we honor the wisdom of those who came before us.
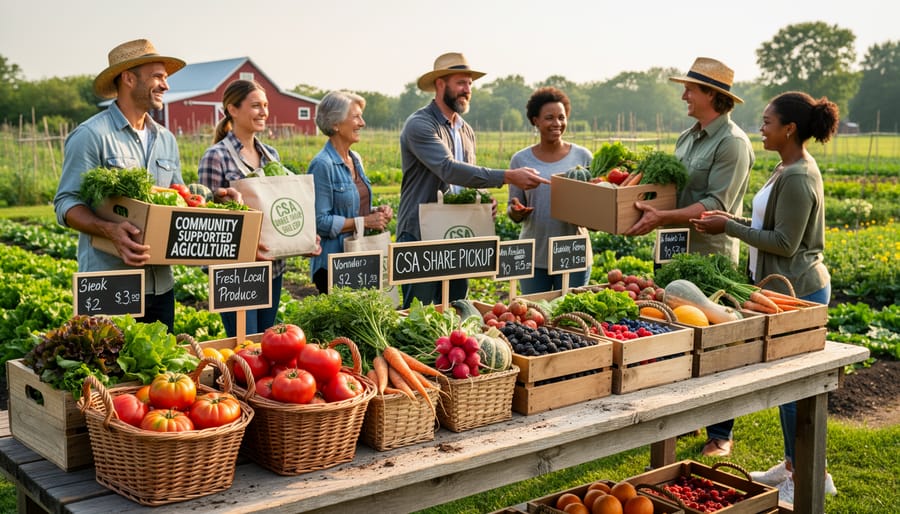
You can become part of this living tradition right in your own garden. Start by joining a Community Supported Agriculture program where farmers are already embracing these sustainable approaches. Many CSA farms offer seed saving workshops and opportunities to learn hands-on techniques directly from experienced growers. Consider participating in local seed swaps or seed libraries to access regionally adapted varieties while connecting with fellow gardening enthusiasts.
Each seed you save and plant carries forward this precious heritage. By choosing to grow food using indigenous-inspired methods, you’re not just cultivating plants but nurturing a more sustainable future for your community and the planet. The journey begins with a single seed and your willingness to learn from the wisdom already growing around you.