How CSA Farming Transformed These Farmers’ Lives (And Why They’re Not Going Back)

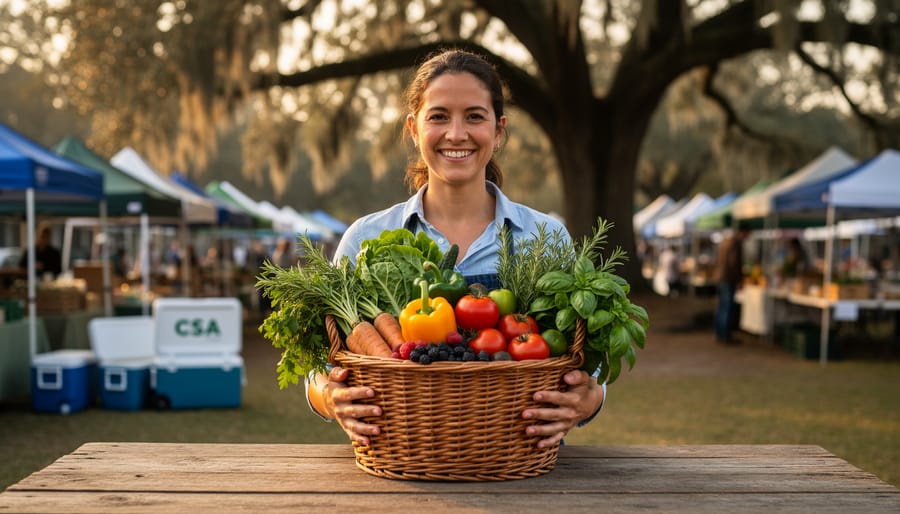
Picture a farming life where you know exactly who’s eating your carrots, where Sunday evenings aren’t spent worrying about wholesale prices, and where your tomatoes are celebrated rather than rejected for cosmetic imperfections. This is the reality for Community Supported Agriculture farmers who’ve discovered that growing vegetables for their local community doesn’t just sustain their land—it transforms their entire quality of life.
CSA farming flips the conventional agriculture script. Instead of gambling on volatile markets and watching profits disappear to middlemen, farmers receive payment upfront from members who share both the abundance and the risks of each season. Sarah Chen, who left corporate life to farm two acres in Vermont, says her CSA brought something she never expected: “I went to bed actually excited about Monday mornings.”
The wellbeing benefits extend far beyond steadier paychecks. CSA farmers report deeper community connections, creative freedom to experiment with heirloom varieties, reduced stress from financial predictability, and the profound satisfaction of feeding neighbors they know by name. They’re not just growing food—they’re cultivating relationships, autonomy, and purpose.
Whether you’re a farmer considering this model, a consumer curious about the human impact of your food choices, or simply exploring what makes sustainable agriculture truly sustainable, understanding how CSA farming nurtures the farmer is essential. The vegetables are just the beginning of the story.
The Hidden Crisis Behind Conventional Farming
Behind every bundle of grocery store vegetables lies a story most shoppers never see. Conventional farming, despite feeding millions, often places crushing pressures on the people who grow our food. Many farmers find themselves trapped in a cycle where they have little control over their income. They plant their crops, invest months of labor and resources, and then must accept whatever price middlemen and wholesale markets offer at harvest time.
The financial uncertainty extends beyond just pricing. Farmers shoulder enormous upfront costs for seeds, equipment, and labor, yet they can’t predict if they’ll recoup these investments. A sudden market glut can slash prices overnight. Weather disasters can wipe out entire harvests. Meanwhile, input costs continue climbing year after year.
Beyond money, there’s a profound sense of isolation in conventional farming. Many farmers work long hours with minimal connection to the people who ultimately eat what they grow. They plant, tend, and harvest, but rarely receive feedback or appreciation for their efforts. This disconnect can leave even successful farmers feeling like anonymous cogs in an impersonal food system.
The emotional toll is real. Studies show that farmers experience higher rates of stress, anxiety, and burnout compared to many other professions. The combination of financial pressure, physical demands, and isolation creates a perfect storm for mental health challenges.
But what if there were a different way? What if farmers could know their income before planting season begins, build relationships with the people they feed, and regain control over their farming decisions? This is where Community Supported Agriculture and CSA vegetables enter the picture, offering a model that puts farmer wellbeing at its foundation.
Financial Stability: How CSA Veg Creates Predictable Income
Payment Before Planting
One of the most significant advantages of the CSA economic model is receiving payment upfront, before a single seed goes into the ground. This transforms the financial reality for farmers who typically face months of expenses before seeing any income. Instead of gambling on whether their harvest will sell at market prices, CSA farmers secure their revenue at the season’s start, allowing them to budget confidently for seeds, supplies, and living expenses.
This advance payment system eliminates the nail-biting uncertainty that plagues conventional farming. Farmers no longer worry about surplus produce going to waste or market prices dropping unexpectedly. Take Sarah, a second-generation farmer in Ontario, who switched to CSA after years of market farming stress. She shares, “Knowing my income is secured in February lets me sleep at night. I can focus on growing quality vegetables instead of constantly worrying about sales.”
The upfront model also enables farmers to invest in improvements like irrigation systems or hoop houses, enhancing both productivity and quality of life throughout the growing season.
Freedom from Market Price Swings
When farmers sell to wholesale markets, they’re at the mercy of unpredictable price fluctuations. One week, lettuce might fetch a decent price; the next, an oversupply could slash values by half. This volatility makes financial planning nearly impossible and keeps many farmers perpetually stressed about making ends meet.
CSA farming offers a refreshing alternative. Through the risk-sharing model, farmers receive payment upfront at the season’s start, completely bypassing the wholesale market gamble. Members pay a set subscription fee, giving farmers guaranteed income regardless of what commodity prices do that week.
Consider Sarah, who runs a small organic farm in Ontario. Before switching to CSA, she’d watch her beautiful heirloom tomatoes sell for pennies when grocery stores flooded the market with conventional produce. Now, her CSA members pay a fair, predetermined price that reflects the true value of her work and the quality she delivers.
This stability transforms how farmers operate. Instead of worrying whether they’ll cover costs after harvest, they know exactly what revenue to expect. They can invest in quality seeds, proper equipment, and soil improvements without second-guessing every purchase. The freedom from price anxiety also allows farmers to focus on what matters most: growing exceptional vegetables and nurturing their land, rather than constantly checking market reports and losing sleep over factors beyond their control.

Community Connection: The Social Benefits of Growing CSA Veg
From Anonymous to Appreciated
For many farmers, traditional vegetable farming can feel like shouting into a void. You plant, cultivate, and harvest beautiful produce, then send it off to wholesalers or farmers’ markets where it becomes just another commodity. The connection between your effort and someone’s dinner table remains invisible.
CSA farming transforms this experience entirely. Instead of anonymous transactions, farmers receive weekly feedback from members who know their name and recognize their work. Sarah Chen, a CSA farmer in Vermont, shares: “The first time a member emailed me a photo of their daughter eating my cherry tomatoes and asking for the variety name, I actually got teary. Someone cared about what I grew.”
This direct relationship creates meaningful moments that sustain farmers through challenging seasons. Members leave thank-you notes in pickup bins, share recipes using your vegetables, and celebrate your successes. When a late frost damages crops, CSA members respond with understanding rather than simply taking their business elsewhere.
The appreciation extends beyond kind words. Farmers report feeling valued as skilled professionals rather than interchangeable suppliers. One Iowa farmer noted that CSA members often ask about growing techniques and seasonal challenges, showing genuine interest in the craft of farming. This recognition of expertise provides deep emotional satisfaction that wholesale relationships rarely offer.
Building Your Farm Family
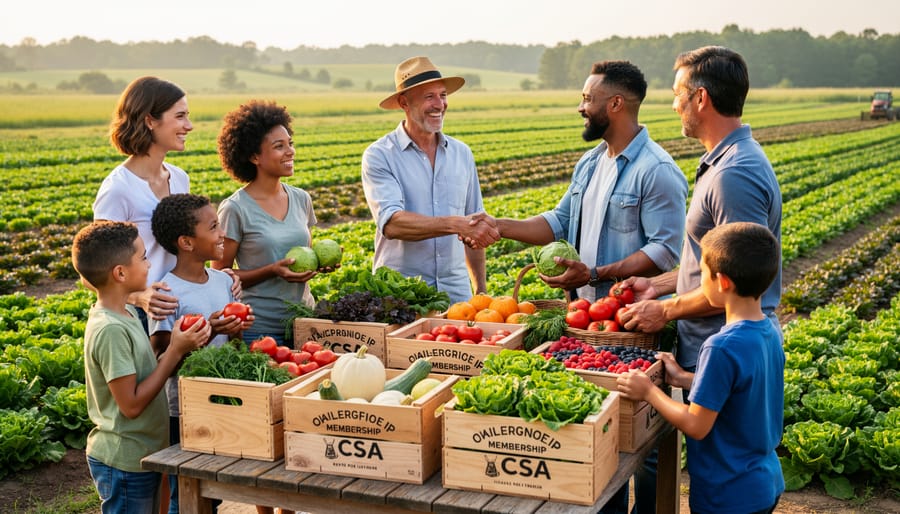
When you join a CSA, you’re not just signing up for vegetables—you’re becoming part of something much bigger. The partnership between farmers and communities creates genuine relationships that transform both sides of the farm gate.
Sarah, a third-generation farmer in Ontario, recalls the spring flood that nearly destroyed her greenhouse. Within hours of posting about the damage, twenty CSA members showed up with tools, supplies, and determination. They spent the weekend helping her rebuild, turning what could have been a devastating loss into a powerful reminder that she wasn’t farming alone.
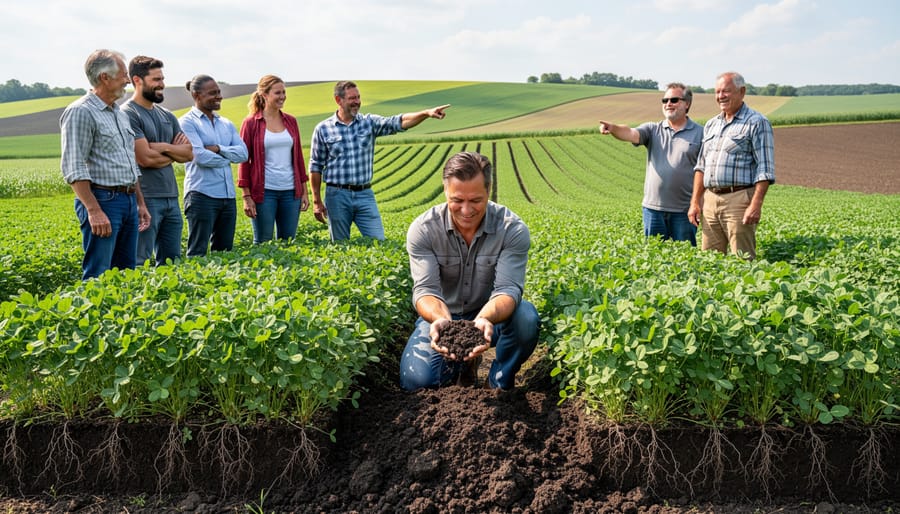
These connections extend beyond crisis moments. Many CSA farmers describe members who return year after year, bringing their children to watch them grow up alongside the crops. Harvest celebrations become annual traditions where members contribute potluck dishes featuring the farm’s produce, swapping recipes and gardening tips while kids run through the fields.
For farmers who spend long days working the land, this social connection combats the isolation that often accompanies rural life. Members become friends who check in during tough seasons, celebrate bumper crops, and genuinely care about the farm’s success. They volunteer for u-pick days, help with special projects, and spread the word about the farm within their own networks.
This extended farm family provides emotional support that goes far beyond the transaction of food. It reminds farmers that their work matters deeply to real people who value not just the vegetables, but the farmer growing them.
Creative Freedom in What You Grow
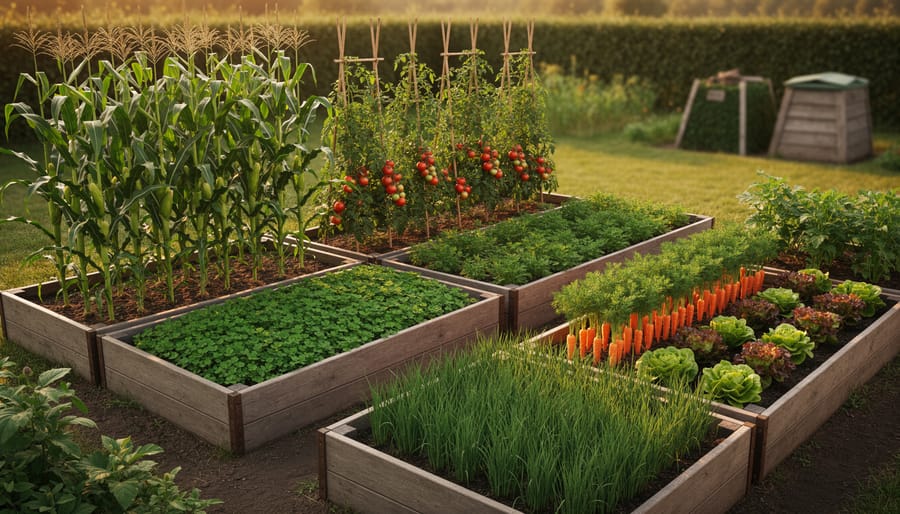
One of the most rewarding aspects of CSA vegetable farming is the creative liberty it offers. Unlike conventional farming models that often pressure farmers into growing the same high-volume commodity crops year after year, CSA allows you to embrace diversity and experimentation in your fields.
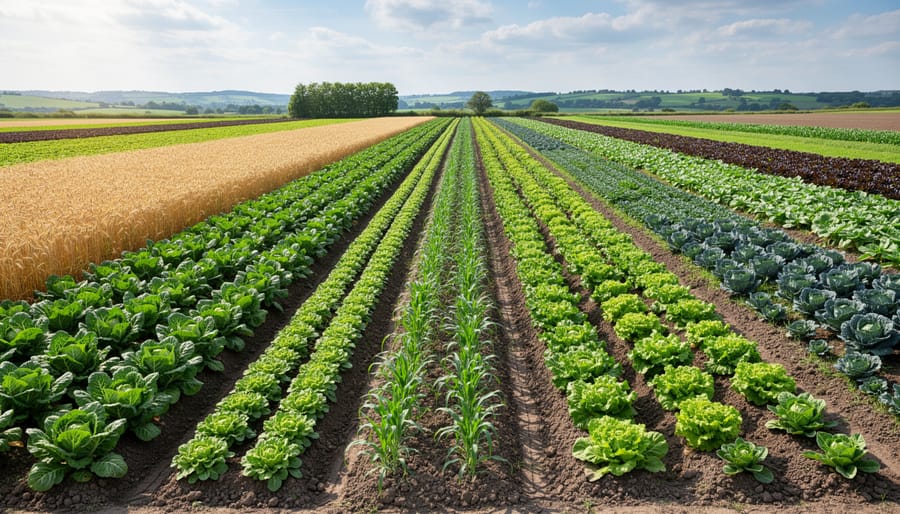
With a CSA model, you’re growing for people who appreciate variety and seasonality, not for a standardized supermarket system. This means you can dedicate rows to heirloom tomatoes with names like Cherokee Purple or Brandywine, plant rainbow carrots in shades your members have never seen before, or try growing specialty greens like mizuna and tatsoi. The direct relationship with your members creates a market for crops that might never make it onto conventional grocery shelves.
Sarah Mitchell, who runs a CSA farm in Vermont, shares her experience: “I grew up on a dairy farm where every day felt the same. Now, I plant over 80 different varieties each season. Last year, I experimented with ground cherries and purple cauliflower, and my members loved them. That creative expression feeds my soul in ways I never expected.”
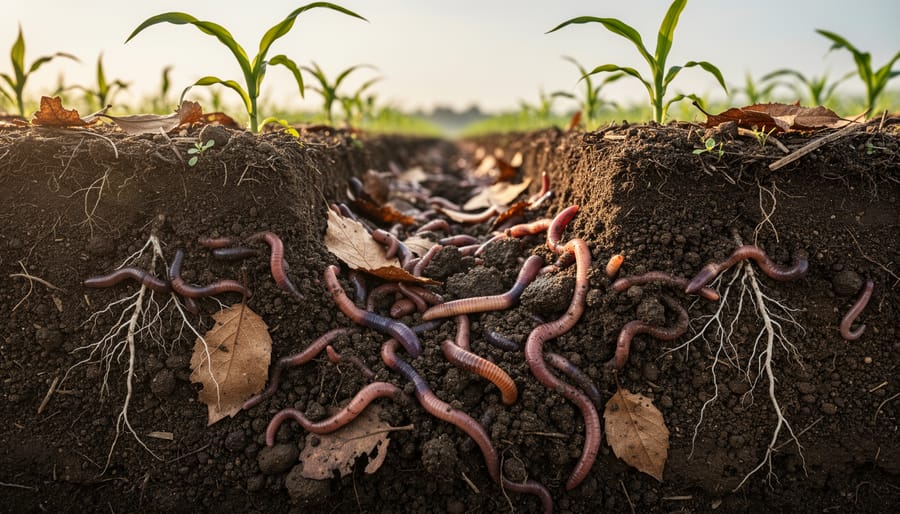
This freedom extends beyond crop selection. CSA farmers can practice sustainable farming practices that align with their values, whether that’s companion planting, cover cropping, or integrating pollinator habitats. You’re not confined to methods that maximize short-term yield at the expense of soil health or biodiversity.
The seasonal rhythm also brings fulfillment. Spring greens give way to summer abundance, then fall root vegetables and winter storage crops. This natural cycle keeps the work engaging and prevents the monotony that plagues industrial agriculture. You’re constantly learning, adapting, and discovering what thrives in your unique microclimate.
For many CSA farmers, this creative freedom transforms farming from just a livelihood into a genuine passion project where agricultural artistry meets practical purpose.

Work-Life Balance and Control Over Your Schedule
One of the most significant yet often overlooked benefits of the CSA vegetable model is the scheduling flexibility it offers farmers. Unlike wholesale farming, where delivery deadlines are rigid and market demands unpredictable, CSA farming operates on a predetermined weekly or biweekly distribution schedule that farmers help establish.
This predictability transforms daily life for many growers. Sarah Chen, who runs a five-acre CSA operation in Vermont, explains it simply: “I know exactly when I need to harvest, pack, and distribute. That means I can actually plan my daughter’s soccer games into my week instead of constantly missing them.” This level of control is rare in agriculture, where weather and market forces typically dictate every decision.
The CSA model also reduces the frantic pace common in conventional farming. There’s no scrambling to meet sudden wholesale orders or losing sleep over rejected produce shipments. Instead, farmers plan their growing seasons around a known number of shares, eliminating much of the guesswork and stress.
Many CSA farmers appreciate the ability to take breaks during slower seasons. Unlike farmers locked into year-round wholesale contracts, those running seasonal CSAs can intentionally design downtime for rest, planning, or even vacation. This seasonal rhythm aligns more naturally with both crop cycles and human needs for recovery.
The share-based system also means farmers can work at a sustainable pace. When you’re growing for 50 families rather than filling massive wholesale orders, the pressure to maximize every square foot diminishes. This allows for more mindful farming practices and reduces burnout. As one Wisconsin farmer put it, “CSA lets me farm like a human being, not a production machine.” This improved work-life balance contributes significantly to long-term farmer wellbeing and career satisfaction.

Real Farmers, Real Stories
Nothing quite captures the transformative power of CSA vegetable farming like hearing directly from those who’ve made the leap. These farmers discovered that growing for their community brought rewards far beyond what they’d imagined.
Maria Chen spent fifteen years managing a mid-sized conventional farm in Oregon, constantly chasing commodity prices and watching profit margins shrink. “I felt like a hamster on a wheel,” she recalls. In 2018, she converted five acres to organic vegetable production and launched a 60-member CSA. The change was dramatic. “Now I know exactly who I’m feeding. Members send photos of their kids eating the carrots we grew together. That connection is priceless.” Maria reports sleeping better and feeling genuinely excited about harvest days. Her farm grosses less total revenue than before, but her take-home income actually increased by 20 percent once she eliminated middlemen. More importantly, she rediscovered why she became a farmer in the first place.
Tom and Sarah Rodriguez ran a struggling grain operation in Wisconsin before transitioning to CSA vegetables in 2020. Tom had been battling anxiety related to unpredictable markets and mounting debt. “The CSA model gave us financial predictability we’d never experienced,” Sarah explains. Members pay upfront each season, providing crucial spring cash flow. But the wellbeing boost came from unexpected places. “Our members volunteer during harvest. We host farm dinners. We’re not isolated anymore,” Tom shares. The social connections reduced his stress significantly, and he hasn’t needed anxiety medication since their second CSA season.
Jennifer Park, a former software engineer in California, started her CSA farm from scratch in 2019. While challenging initially, she found the creative freedom liberating. “Every week, I curate a harvest basket like an artist selecting colors for a palette. I experiment with heirloom varieties my members request. There’s no corporate ladder, just me, the soil, and people who genuinely appreciate my work.” Jennifer works long hours during peak season but controls her schedule in ways her tech job never allowed. “I take winter mostly off now. That balance keeps me healthy and sustainable for the long haul.”
These farmers prove that CSA vegetable farming offers more than a business model—it’s a pathway to meaningful work and genuine wellbeing.
CSA vegetable farming offers a meaningful pathway toward healthier, more fulfilling farming communities. Throughout this journey, we’ve seen how Community Supported Agriculture creates not just financial stability, but genuine connections between growers and eaters, opportunities for creative expression in the fields, and a work-life rhythm that honors both productivity and personal wellbeing.
Of course, CSA farming isn’t without its challenges. Managing member expectations, planning crop diversity, and navigating the learning curve of direct marketing all require dedication and adaptability. Yet countless farmers have found these challenges far more rewarding than the uncertainties of conventional wholesale markets. The key difference? You’re building something together with your community rather than simply supplying a faceless system.
Whether you’re a farmer feeling burned out by traditional agriculture or a consumer wanting to support farming practices that truly nourish people and planet, now is the perfect time to explore CSA farming. Start small if you’re farming—even a micro-CSA with ten families can transform your relationship with your work. If you’re on the consumer side, joining a local CSA means investing directly in farmer wellbeing with every box you receive.
The future of agriculture depends on models that sustain both land and people. CSA farming proves that growing food can feed souls as well as bodies, creating vibrant communities rooted in trust, health, and shared abundance.